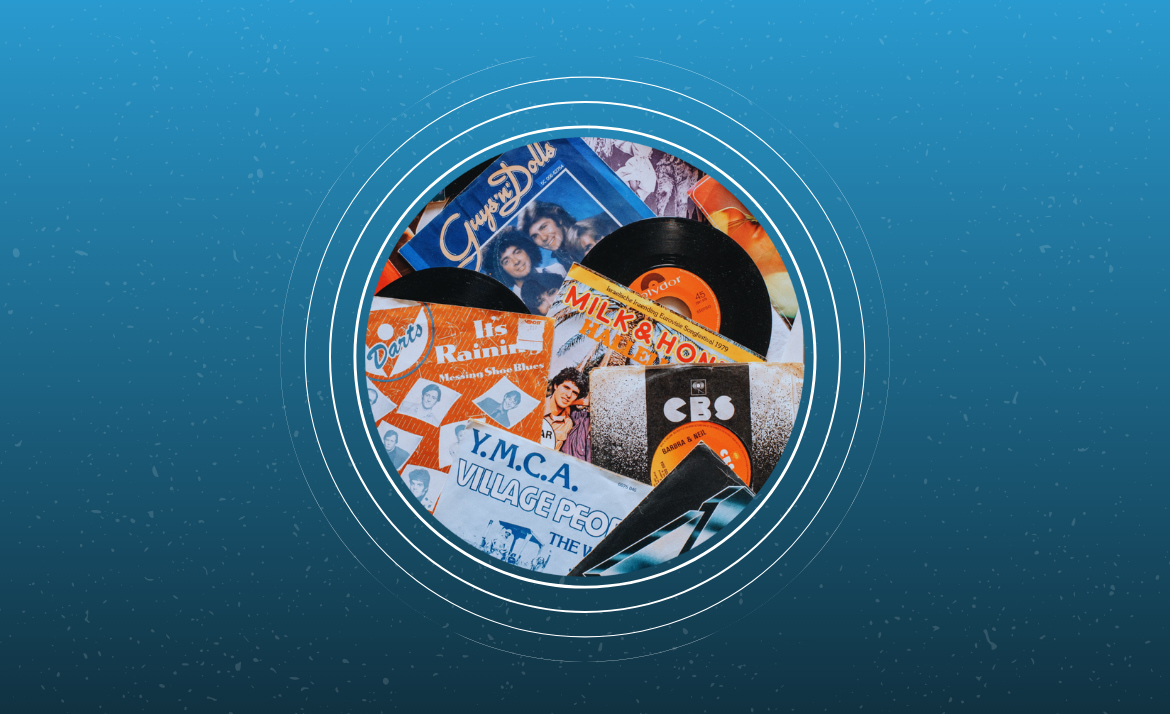
Every vinyl enthusiast knows the feeling: anticipation as you lower the needle, then annoyance when crackles or pops ruin the moment. The culprit is rarely luck. Solid cleaning equipment maintenance ensures your tools do their job and your records stay pristine, play after play.
Few hobbies reward meticulous care like vinyl collecting. Over time, dust and residue cling to brushes, mats, and styluses. Grimy cleaning tools don’t just stall their effectiveness—left unchecked, they can actually harm your collection, making regular, targeted maintenance a must.
If you want consistently clear, distortion-free playback, these cleaning equipment maintenance tips and workflows will help prevent buildup, extend equipment life, and protect your vinyl. Let’s dive in together and raise your routine’s game.
Bulletproofing Your Cleaning Routine from Day One
The best time to start protecting your gear is after your very first cleaning session, not months down the road. Design your routine with upkeep built in.
Neglecting even small tools can lead to poor sound and permanent groove damage. Identify which pieces touch your records most frequently—brushes, inner sleeves, stylus cleaners, anti-static cloths—and design your workflow around keeping them spotless.
Structuring Daily Quick-Checks for Residue and Wear
Begin by inspecting stylus brushes for fiber buildup after each use. Run your finger along the bristles (gently) and look for visible dust or gumming at the ends.
Work a similar habit into your post-listening ritual for cloths and anti-static mats. Hold each item up to a strong light to spot embedded particles, then brush or shake them clean before the next use.
Try using this mental script while checking: “If my brush leaves anything behind, it’s ready for a full clean.” Embodying this rule avoids unintentional contamination of your records down the line.
Weekly Deep Clean versus Daily Light Clean: Real Results
Commit to daily rapid-clean checks with longer, more deliberate sessions reserved for a set day each week. This reduces overall buildup and makes intense cleaning faster and safer.
For example, on Sundays, set aside 10 minutes to soak microfiber cloths in gentle detergent, rinse, and air-dry. Let vinyl brushes stand in a diluted isopropyl solution to loosen entrenched dust.
Analogous to wiping kitchen counters every evening but scrubbing the stovetop weekly—this strategy keeps contamination in check and prevents brush bristles or stylus pads from degrading prematurely.
| Tool | Quick-Clean Steps | Deep-Clean Steps | Actionable Tip |
|---|---|---|---|
| Carbon-fiber Brush | Tap gently after each use to dislodge dust | Soak in warm, soapy water monthly | Replace brush every 12 months for best results |
| Stylus Cleaner | Wipe residual gel with dry cloth post-use | Wash silicone pad in mild soap as needed | Inspect tip for cracks before each use |
| Microfiber Cloth | Shake out debris, store in sealed bag | Launder on gentle, air-dry only | Rotate cloths to avoid overuse |
| Vacuum Record Cleaner | Empty dust container after each use | Clean tank with isopropyl every two weeks | Lubricate moving parts as per manual |
| Anti-static Mat | Brush gently to lift debris off surface | Wash with unscented soap, dry flat | Keep away from direct sun to prevent warping |
Refining Brush and Cloth Care, Step by Step
When you treat your brushes and cloths with care, you extend their useful life and protect your record grooves. Every tool needs tailored attention and a consistent schedule.
Stick with lint-free, dye-free microfiber cloths or specialty carbon-fiber brushes. Avoid standard household rags, as they can shed fibers or scratch surfaces. Document how your main tools look and feel when fresh—you’ll spot changes sooner.
Manual Cleaning: Less Is More
Store cleaning brushes bristle-side up in a dust-free drawer to avoid accidental contamination. After use, tap the bristles on a hard surface to knock off any loose debris.
For cloths, shake them vigorously outdoors and regularly launder using a fragrance-free detergent. Always air-dry microfiber. Never use fabric softener, as residue can transfer onto records and attract more dust.
- Check for stiffening or fraying on brush bristles after rinsing; replace if needed to avoid scratching vinyl.
- Label each cloth for its specific use (drying, dusting, etc.) to prevent cross-contamination and extend lifespan.
- Stack freshly washed cloths in an airtight container to keep them dust-free until next use.
- Visually inspect cleaning tools before each session—discard persistent lint or stubborn stains to prevent accidental transfer onto vinyl.
- Fold and store cloths between uses to maintain their shape and reduce static buildup.
Use this method: after wiping a tool, hold it to the light. If you see streaks, rewash and dry before using again.
Clearing Stubborn Debris and Resolving Static
Deep clean stuck-on dust or debris by dampening your brush with distilled water and brushing it along the grain of the bristles. Avoid saturating the base, which may loosen glue.
If static persists, rub the brush or cloth on a grounded anti-static mat for a few seconds. A wrist-strap or gentle mister (distilled water only) can also reduce unwanted static charge.
- Brush using short, controlled strokes along the bristles, never against them, to maintain their original alignment and lifespan.
- Alternate between dry and slightly damp applications: persistent grime yields best to a two-step approach without over-wetting.
- Gently twist cloth corners to reach into tight grooves; avoid excessive force, which could stretch fibers and deposit lint.
- Let cleaned brushes and cloths air-dry completely before returning them to storage, preventing odor or mold buildup.
- Always handle cleaning gear with clean, dry hands—body oils can travel to tool surfaces and, in turn, to your records.
Rotate between two or three speciality cloths, always selecting the cleanest one first. Retire worn or heavily soiled tools as part of your regular routine.
Upholding Machine Cleaners: Beyond the Basics
Protecting your motorized or vacuum record cleaning machine starts with listening for unfamiliar noises mid-cycle. Any screech, thump, or slow startup indicates parts needing a tune-up.
Follow the model’s manual for opening, emptying, and cleaning vital components. Cleaning equipment maintenance isn’t just preventive; it corrects performance issues before they threaten vinyl safety or sound quality.
Interior Care: Focusing on Fans, Tanks, and Hoses
At least once per month, unplug your machine and detach dust tanks, hoses, and fans. Use cotton swabs or mini-vacuums to extract residue from tight angles, focusing on closure seals and filter chambers.
Flush liquid tanks with a half-and-half solution of distilled water and isopropyl alcohol. Wipe dry with a lint-free towel, paying attention to hard-to-reach bends in hoses and joints.
Lightly oil moving parts with products designed for small appliances. Don’t lubricate belts unless manufacturer specifies it. If your machine stutters, tighten any loose connections promptly before resuming use.
Exterior and Accessory Upkeep
Wipe machine casing using a soft, only slightly damp microfiber towel. Never allow water near electrical switches, panels, or cords.
Brush off dust from attachments, such as vacuum wands and filter screens, using a fine paintbrush. Store cleaned accessories in a zipped pouch or sealed box between sessions.
Record and date each maintenance round in a small logbook. This habit helps spot usage patterns that may warrant preventive checks or early parts replacement, despite outward appearances.
Fine-Tuning Stylus Cleaning for Audio Clarity
Preserving stylus sharpness and cleanliness delivers clear, faithful audio—and works as the last line of defense for vinyl grooves. Equip yourself with a gentle, purpose-made stylus brush or polymer gel pad.
When using gels, press the stylus straight down—not at an angle—for a second or two before lifting. Regular cleaning after every three to five records supports your cartridge’s factory specs.
Hand-Cleansing: Safe Motions Every Time
Lower the tonearm onto a stationary stylus pad and withdraw vertically. Repeat as needed until the pad shows no visible residue. Gentle side-to-side brushing with a dedicated stylus brush also removes microscopic particles.
Avoid long, aggressive strokes or brushing upward from the tip. These actions risk misaligning the stylus or breaking the delicate cantilever, irreversibly impacting fidelity.
Practice operators’ form: focus your gaze on the stylus tip as you work, keeping your elbow steady—this keeps pressure gentle and controlled, even when reaching difficult cartridge designs.
Solvent Cautions, Handling Pro Tips
Use only manufacturer-approved stylus cleaning solutions. Homemade brews (especially those with alcohol or acetone) can weaken glue bonds securing stylus tips, causing premature detachment.
Let stylus air-dry completely before next playback to prevent track residue transfer. Lightly sweep the clean stylus with a dry, anti-static brush to reduce noise at start of side.
Grasp the tonearm firmly with your non-dominant hand throughout. This eliminates flicks or drags that harm needle alignment. Always return the tonearm to its rest after any cleaning pass.
Diagnosing Problems Before Damage Occurs
Early detection of cleaning tool issues lets you correct them before your records or equipment suffer. Pay attention to sound changes or operation ‘feels’ unique to your usual routine.
If your anti-static brush starts feeling tacky, or you notice higher resistance during cleaning, consider that as the first sign it needs a full wash or replacement.
Visual and Tactile Checks that Spot Danger Early
Examine tool surfaces by touch, not just sight. Run your fingertip along brush heads—rough spots, stray bristles, or sticky patches demand immediate intervention, sidestepping risks to expensive pressings.
Monitor the clarity of cleaning fluids and pads before each use. Cloudiness or gritty textures betray hidden contamination that could speckle your vinyl with debris. Always err on the side of fresh supplies.
If a brush sags, warps, or smells off after drying, jot the date and retire it. Reliable cleaning equipment maintenance means responding to early warnings—not squeezing every ounce from a tired tool.
Tracking Auditory Clues in Playback
Regularly cleaning your test record helps isolate if hiss, snap, or muffling is from the record itself or due to cleaning gear residue. Use the same familiar track as a “reference standard.”
If artifacts appear repeatedly across cleaned records, your current tool set is suspect. Compare results with a backup brush or cloth—if the difference is night and day, change out your worn tool immediately.
Notice subtle shifts in playback volume, treble crispness, or the punch of bass after cleaning. When dynamics visibly falter, troubleshooting your cleaning gear pays off fast.
Maintaining an Inventory and Replacement Schedule
Tracking the age and condition of your cleaning tools keeps results predictable. Create a simple checklist, app, or spreadsheet that records each brush, pad, and cloth’s start date, type, and replacement window.
Match replacement intervals to your listening and cleaning frequency. For daily users, most tools need rotating every 9 to 12 months. For collectors who play records less, yearly reviews suffice.
- Label each new brush with a permanent marker so its lifespan doesn’t become a guessing game.
- Store backup cloths and solutions away from direct sunlight to slow wear even in storage.
- Set reminders for six and twelve-month reviews in your phone or calendar app as part of your cleaning equipment maintenance habits.
- Donate still-good but older tools to newcomers, so nothing goes to waste within the vinyl community.
- Keep receipts or warranty details taped inside your storage drawer, making replacements quicker and hassle-free.
If you’re ever in doubt about a tool’s condition, swap it preemptively to avoid risking prized records. It’s like tire tread: replace before it’s bald, not after.
Long-Term Listening: Protecting Your Collection and Investment
Regular, mindful cleaning equipment maintenance transforms the lifespan of both your records and tools, giving you more music with less frustration. Organize cleaning days with the same importance as new record arrival days.
Every detail—down to how brushes dry or where cloths rest—compounds over the years, reducing noise and protecting against accidental abrasion. Well-kept tools reflect a commitment to the vinyl experience as a whole.
Even occasional lapses can lead to buildup that’s tough to reverse. Stay proactive rather than reactive; integrate equipment maintenance check-ins directly into your music routine for best results and peace of mind.