There’s a quiet satisfaction in pulling a dusty record from your collection and wondering if it still sings. When you’re eyeing that forgotten classic, the phrase “mold removal” jumps to mind as you realize something’s grown where music should play.
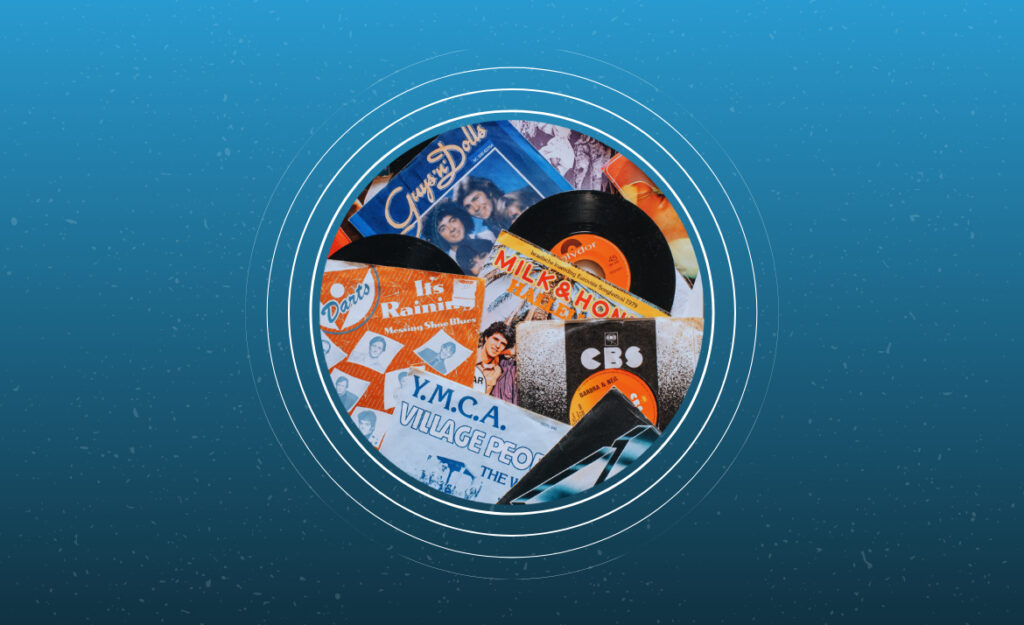
Vinyl records, treasures passed between generations, hold more than just songs—they capture memories. However, improper storage can invite mold, threatening both the grooves and the joy they deliver.
Getting mold off vinyl isn’t about scrubbing harder—it’s about learning gentle, smart, and safe techniques that restore your music and preserve the stories behind every disk. Explore this guide for expert strategies you can use today.
Picking Cleaning Methods That Match Your Vinyl’s Condition
Choosing the right approach ensures records get clean without wear. A mild touch, not just a strong product, is crucial for mold removal vinyl projects.
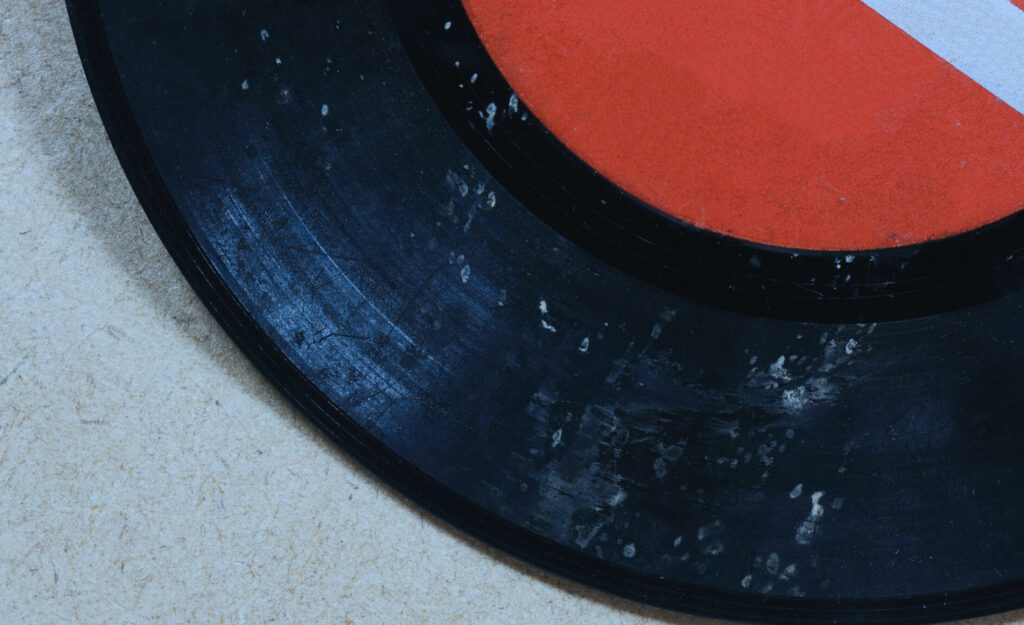
Visual inspection reveals trouble spots, but not all mold looks alike. If you see fuzzy white, gray, or green patches, adjust your plan to target those areas. Avoid quick fixes that risk lasting damage.
Separating Mold From Surface Dirt
Dirt collects easily on vinyl but responds to basic cleaning with a carbon fiber brush and gentle wipes. Mold, though, forms a network that grips grooves more tenaciously, calling for targeted tactics to lift spores completely.
When examining, if light brushing leaves a residue or smell, that’s likely mold embedded deeper. At this stage, avoid repeated dry brushing—a damp approach works better for treating persistent traces.
For stubborn mold, combine a distilled water rinse with a dash of diluted isopropyl alcohol. Always dry thoroughly after, since residues can lure future mold growth if the record is left damp.
Dealing With Mold on Labels and Sleeves
Labels and sleeves are paper-based and do not forgive errors. Mold eats paper far faster than vinyl. Avoid wetting these areas directly; instead, use a barely damp microfiber cloth around the edges.
If mold covers sleeves, consider quarantine: place the sleeve in a sealed poly bag and store away from your collection. Replace irreparable sleeves, and document the original for future reference.
When drying sleeves, lay them between paper towels under a book’s weight for a day. This minimizes warping while helping soak up residual moisture—even after cleaning.
Table: Comparing Common Mold Removal Techniques for Vinyl Records
| Method | Effectiveness | Risk Level | Best Use Case | Takeaway |
|---|---|---|---|---|
| Distilled water only | Moderate | Low | Light surface mold | Safe for most records; repeat for stubborn areas |
| Isopropyl alcohol mix | High | Moderate | Stubborn, visible mold | Use diluted 10:1, avoid label contact |
| Commercial record cleaner | High | Low | Deep, embedded mold | Follow instructions strictly for best results |
| Ultrasonic cleaning | Very high | Low | Large collections, persistent mold | Ideal for serious collectors, pricier but thorough |
| Soap and water | Low | High | Non-valuable, thick vinyl only | Risk of residue and warping; avoid when possible |
Selecting Safe Supplies and Building Your Cleaning Setup
Gathering the right tools sets you up for safe, efficient cleaning. Mold removal vinyl projects benefit from simple items, not aggressive chemicals.
Choose supplies that don’t scratch or introduce more residue. Stay away from wood-handled brushes—mold can colonize natural materials too, compounding your job over time.
Checklist for Setting Up Your Cleaning Station
Lay out your work area on a lint-free cloth, keeping records away from direct sunlight. Keep distilled water, fresh microfiber towels, a soft brush, and your chosen cleaner at arm’s reach.
If possible, wear latex-free gloves; skin oils encourage fungal recurrences. Use each towel only for one wipe per side. Swap to a fresh cloth between records to keep spores from spreading across your collection.
Position a drying rack or a safe dish rack—one designed for plates works well—beside your setup. Air drying vertically keeps water from pooling and grooves from warping.
- Wipe records gently with a dedicated microfiber cloth: Too much pressure erodes grooves over time; gentle pressure safely lifts mold.
- Use only distilled water for rinsing: Tap water can introduce minerals that degrade vinyl and encourage new mold to take hold within weeks.
- Designate one brush for mold: Cross-contamination between dirt and mold areas spreads the problem and makes jobs last longer.
- Store cleaned records vertically: This helps maintain shape and allows remaining moisture to escape, preventing future mold growth.
- Choose disposable gloves: Remove, discard, and use a fresh pair for each session to limit accidental mold transfer throughout your collection.
Replacing tools periodically prevents hidden mold on implements; this simple habit keeps mold at bay during regular cleanings for years to come.
Essential Products for Mold Removal Vinyl Projects
Opt for reputable, non-abrasive record cleaners. Avoid products that contain strong solvents, fragrances, or oils—these can leave residues that foster even more spores.
- Buy pH-neutral solutions: Highly acidic or alkaline cleaners break down vinyl over repeated use, leading to unwanted crackling and surface haze.
- Test new cleaners on a non-valuable record: Watch for color changes, texture differences, or sudden tackiness—signs a product might be too harsh for your collection.
- Stick to soft brushes with fine bristles: Stiffer bristles may scratch and drive mold deeper into grooves.
- Swap out old towels monthly: Even washed towels can hang onto spores that transfer onto now-clean vinyl surfaces.
- Keep distilled water in a closed container: Exposure attracts dust and airborne mold spores quickly, undoing any work you’ve done to clean.
By maintaining strict supply hygiene, you make your mold removal vinyl routine safer, more efficient, and friendlier to your treasured records.
Applying Targeted Cleaning Steps for Mold Removal Vinyl Success
A good cleaning sequence ensures every groove gets individual attention. Divide the process into manageable steps that can be easily repeated for multiple records.
Start by brushing lightly to remove surface debris. Next, use a gentle cleaner to loosen and lift mold, following up with a distilled water rinse for a spotless finish.
Step-by-Step Plan for Removing Mold from Records
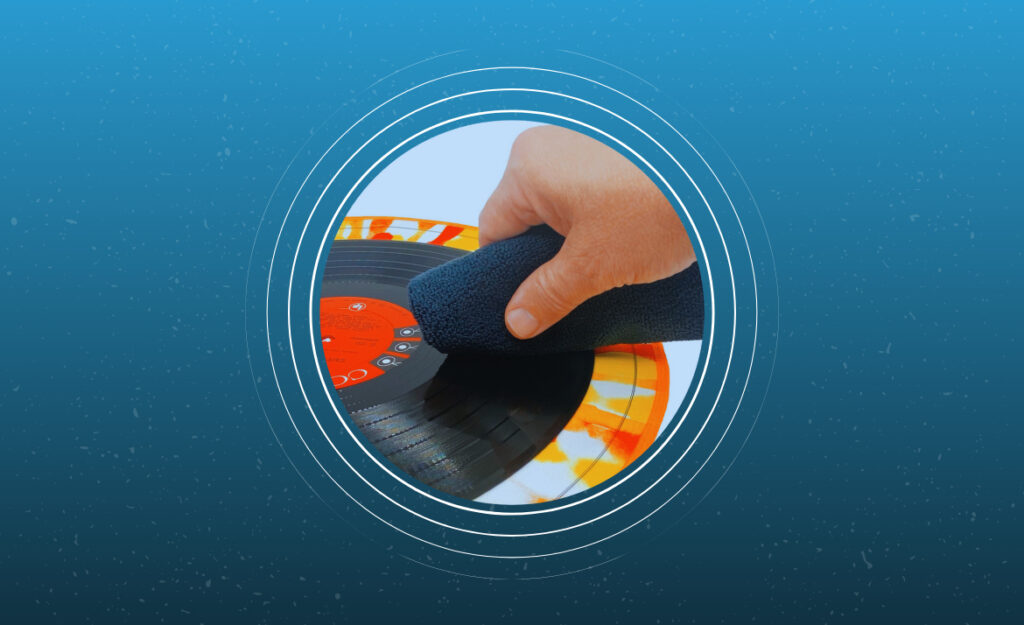
Lay the record flat on your lint-free mat. Lightly brush the grooves in a circular motion following the record’s pattern. Don’t stop at the visible mold; continue until all surface dust is cleared.
Dampen your microfiber towel with a 10:1 mix of distilled water and isopropyl alcohol. Gently wipe the affected area in small, controlled arcs—never saturating the label or letting liquid pool.
Finally, rinse with pure distilled water and prop the record vertically to dry. If using a drying rack, allow up to 30 minutes per side to air dry fully before handling further.
Dealing with Deep-Set Mold Problems
If regular cleaning doesn’t suffice, consider ultrasonic cleaning. This process uses safe waves in distilled water to remove mold from the deepest grooves without abrasion.
Set aside high-value or sentimental records for a professional service. When you’ll say, “I can’t get this out myself,” it’s better to trust someone who works exclusively on vinyl preservation.
Fans who store their records in humid climates might purchase an affordable ultrasonic cleaner. This device lets you run multiple records through at once for recurring mold issues.
Quick Checklist: What to Avoid
Never use household soaps or kitchen detergents—these leave sticky residues that make mold tougher to remove later. Avoid bleach or highly concentrated alcohol; they can discolor, warp, or dry out vinyl over time.
Don’t dry records with heat, such as using a hairdryer or placing near a furnace. These sources warp records, rendering them unplayable. Stick to air drying in a cool room instead.
Finally, skip paper towels or napkins—these fragment and wedge into grooves, creating jagged, permanent scratches. Use only lint-free, purpose-made cloths for every cleaning step.
Building a Mold-Resistant Storage System for Your Vinyl Records
Long-term storage choices decide whether the mold returns after cleaning. Mold removal vinyl routines succeed or fail based on these simple, everyday storage factors.
Maintain a humidity-controlled space where records never sit directly on walls or floors. Air circulation matters—think of each record collection as a small-scale library that benefits from regular air movement.
Smart Shelving for Mold Prevention
Use metal or sealed plastic shelving units instead of wood, which absorbs moisture and attracts mold spores. Keep shelves a few inches away from outer walls to improve airflow on every side of your records.
For rare records, add desiccant packs to inner sleeves. These absorb humidity and discourage mold. Replace packs each season for the best protection and monitor for color changes—some packs turn blue or pink to show when to swap.
When placing boxes in storage, stand records on end, like books, never flat. This distributes weight and discourages heat and moisture buildup, lowering the risk of future mold colonies.
Storing Cleaned Records Safely
After cleaning, store vinyl only in new, anti-static inner sleeves. These resist dust but also breathe, keeping moisture from building up in closed stacks.
Use outer jackets with open flaps faced outward, never inward, to allow air to flow naturally across the record surface. Consider clear archival sleeves for your vintage covers—they let you admire art without risking exposure.
Mark cleaned records with a removable sticker or tag showing the date. If mold recurs, this record-by-record record helps trace issues back to specific humidity spikes or storage problems.
Knowing When to Seek Expert Help with Stubborn Mold
Trust your instincts if repeated cleaning shows little progress. Stubborn mold that clings despite your efforts might be best left to professionals specializing in vinyl restoration.
Professional services provide deep cleaning using specialized tools, such as ultrasonic tanks and commercial vacuum cleaning machines, to ensure safe and thorough removal of mold without damaging your vinyl records.
Red Flags That Suggest Professional Intervention
Look for mold smells that return days after cleaning or visible discoloration deep in the grooves. If wiping gently leaves black streaks, spores may have penetrated below the surface of your record.
If labels or sleeves peel, crumble, or display ink bleeding, pause your cleaning. Paper-based issues multiply with do-it-yourself remedies; instead, look to restoration-focused professionals for these repairs.
Collectors who inherit large archives with visible mold should quarantine new shipments until thoroughly checked and treated. In these scenarios, consult an archivist or a record store experienced in restoration projects.
Scenario: Sentimental Records Need Special Attention
Suppose you’ve uncovered a family heirloom album covered in white and black spots after decades in a basement. Saying, “I just want the music back—without risk,” makes professional services worth every penny.
Specialists clean and stabilize both grooves and artwork, giving records a second life even after years of neglect. Their tools reach into places household methods cannot, while preserving value and sentiment.
Preserved correctly, these once-lost records will once again delight listeners—proving that with expert care, music and memories are never truly gone for good.
Conclusion: Bringing Old Vinyl Records Back Into Rotation
Reviving your vinyl records from mold is about pairing the right products and habits. Each step, from selecting gentle cleaners to drying vertically, ensures a safe return to your turntable.
Storing vinyl with attention to humidity and airflow pays dividends for years. Mold removal vinyl isn’t just an emergency fix—it’s a repeatable process that lets you enjoy music without hidden hazards.
Approach every cleaning session with patience and respect for the past. With consistent care, you’ll keep records spinning—bringing classic sounds and stories into the future, one groove at a time.