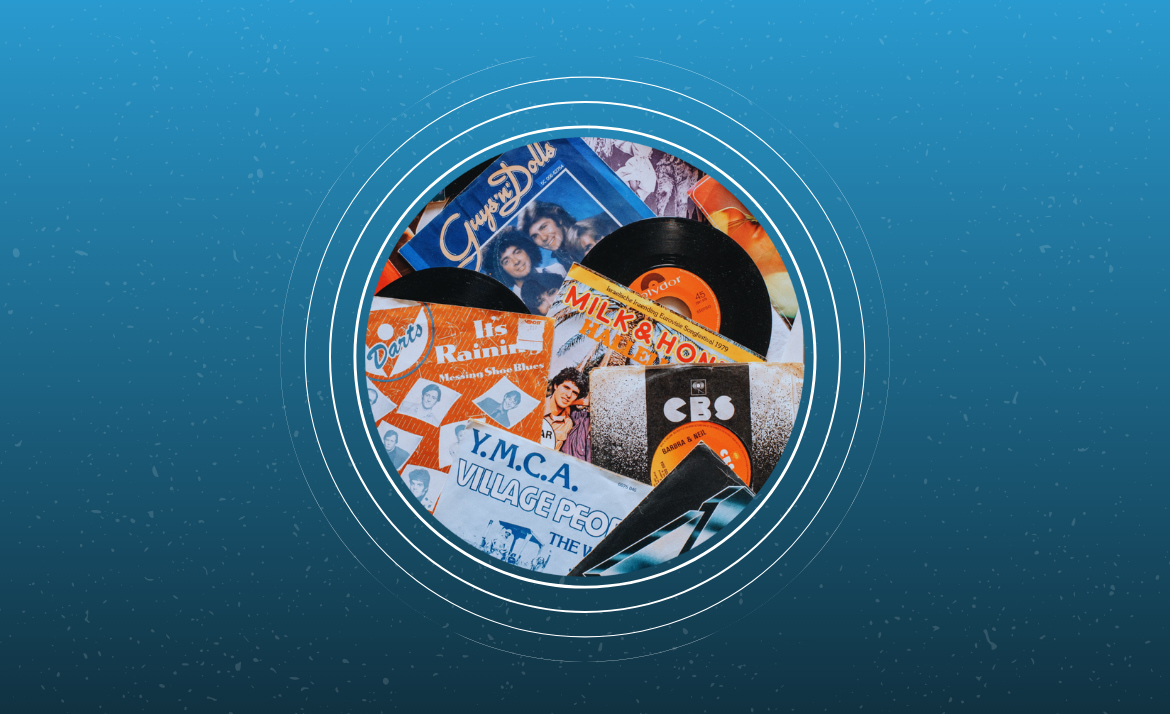
You love the gentle hum of the turntable, the anticipation as the needle drops, and the crisp sound only vinyl can deliver. Yet, in your pursuit of pristine playback, record label protection matters just as much as keeping grooves spotless. Ignoring the label may lead to tears, bubbling, or stains—permanent reminders on your treasured albums.
Treating your records as precious keepsakes is more than surface deep; it’s about preserving every detail, including the print and colors on those iconic labels. Caring for the label goes hand-in-hand with broader record maintenance, ensuring every album feels as memorable as it sounds.
If you’ve ever noticed a faded label or peeling after a cleaning session, you’re not alone. This guide explores safer techniques, smart tools, and actionable strategies, giving you confidence as you clean without compromise. Let’s jump in and safeguard both the soundtrack and the story behind every vinyl.
Choosing the Right Supplies Keeps Every Album Label Pristine
Using the correct supplies minimizes damage. Pair record label protection with proven cleaners and materials meant for vinyl—never generic household sprays. A gentle approach always wins out over harsh chemicals that risk smudging colors or loosening glue.
Take cues from restoration experts: commit to soft microfiber cloths, distilled water, and dedicated record brushes. These work together to lift dust and oils gently, maintaining both audio quality and label integrity for years ahead.
What a “Safe Cleaning Session” Actually Looks Like
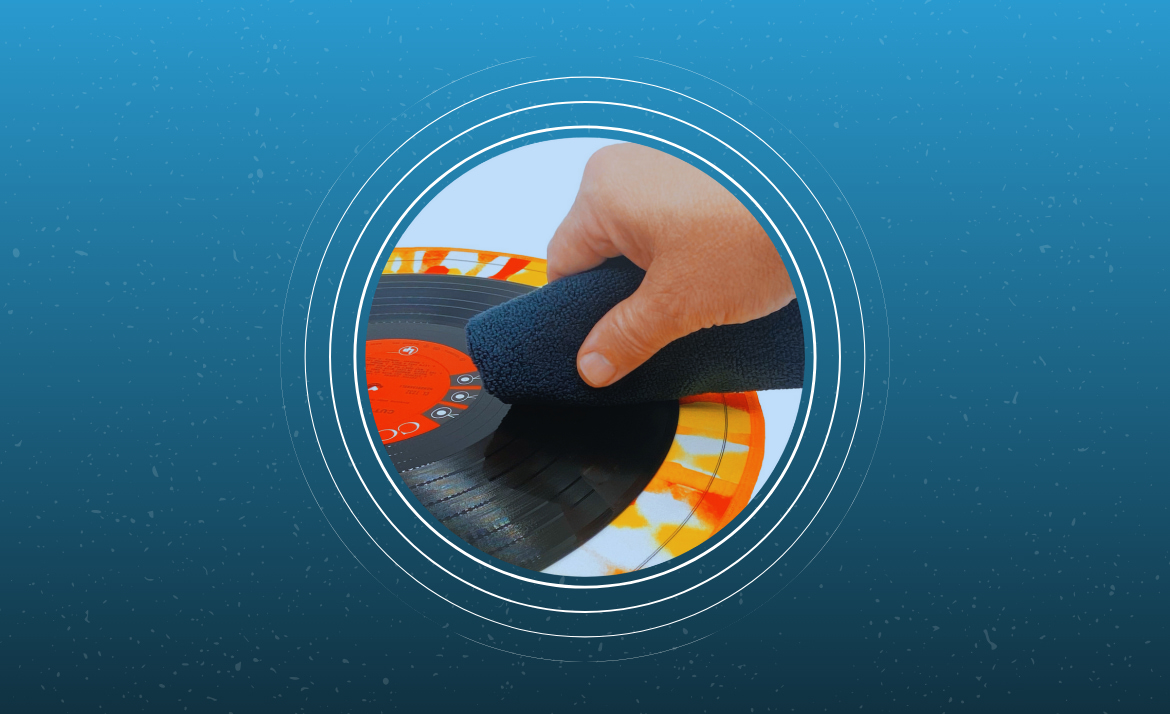
Visualize a setting with minimal distractions and all supplies within reach. Lay records on a lint-free surface, positioning label covers or shields directly atop the label—no shortcuts.
Fill a small bowl with distilled water—never tap. Moisten your microfiber cloth, keeping it just damp, not dripping; waterlogged cloths risk label seepage.
After cleaning grooves with circular, outward motions, inspect the label shield for any dampness before removing it. Dry hands thoroughly before peeling off the shield, then let the record air dry vertically.
Supplies Worth Storing in Your Cleaning Kit
If you pack your cleaning kit smartly, you’ll always have essentials at the ready. Select a clear container to keep supplies visible and dust-free—making future sessions fast and organized.
Label-exclusive covers, like silicone or plastic lids, are reusable and stack neatly. Choose soft, dye-free microfiber towels, a natural-bristle record brush, and tiny squeeze bottles for distilled water to avoid accidental spills.
Finish your kit with a few cotton swabs for spot-cleaning stubborn smudges near the label, ready for precision when light soiling appears. A checklist nearby ensures nothing vital gets missed mid-clean.
| Product | Main Use | Label Safe? | Best for… | Takeaway |
|---|---|---|---|---|
| Microfiber Cloth | General dust cleaning | Yes | Whole record | Go for lint-free, dye-free options to avoid color transfer |
| Label Cover/Protector | Shields label | Yes | Direct label coverage | Essential for protecting print from liquid or accidental touch |
| Distilled Water | Groove washing | Usually yes | Cleaning grooves | Prevents mineral deposits—don’t let it touch the label |
| Cleaning Solution | Deeper clean | Depends on formulation | Built-up grime | Use only album-safe formulas, and keep far from label area |
| Record Brush | Static/dust removal | Yes | Surface & after-clean dry | Soft bristles minimize scratch risk; use light pressure |
Effective Barriers for Shielding Record Labels During Cleaning
Creating reliable barriers is essential. A dedicated label cover—made of waterproof silicone or rigid plastic—saves vintage labels from stains and warping. This small investment keeps your collection fetching top value and sentimental worth.
DIY solutions using circular plastic lids, trimmed with a central slit for the spindle, provide tight coverage at home. Always dry-fit your barrier first, checking stability before the moisture phase begins. Replace disposable covers when cloudy or cracked.
Quick Scenario: Label Protection Before Deep Cleaning
Let’s say you’re prepping a thrift-store find for its first spin: “I want to clean this safely, but preserve that colorful vintage label.” Place a shield, smooth down the edges, and only then start gentle brushing.
- Align your shield precisely before spraying or wiping. Even a little misalignment can let drops slip past and stain the edge.
- Test any home-made shields for water resistance: pour a few drops and tip—if they bead and roll, you’re good.
- Use a gentle touch while holding the record steady. Too much force can dislodge the shield and allow water seepage.
- Inspect both sides before starting. Flipping early can send extra liquid under the cover onto the label.
- Swap shields between records if any residue remains on the previous cover to avoid color transfer or marking.
Securing that barrier isn’t just about speed—it’s about preventing accidents that could destroy label artwork in seconds.
Checklist for Ensuring Total Label Safety
Genuine record label protection starts with routines. Set a visible reminder: “Cover the label before cleaning.” Create a habit of checking for intact edges and dry fit before moving on.
- Keep shield surfaces dry and clean; sticky residue can lift label print on removal.
- Apply shields with dry hands to prevent fingerprints, which could become damp later and press onto the label area.
- Label your shields by size; a mismatched cover can expose parts of the label during washing.
- Dry your shields thoroughly between uses to stop water spots from forming impressions.
- Store shields flat—warped covers won’t sit flush, leaving gaps for accidental leaks.
Simplicity and repetition keep your labels looking sharp. Practice these small checks routinely for label longevity.
Cleaning Techniques That Never Put Labels at Risk
Practicing the right technique makes the real difference. Here’s where many collectors slip: trying to rush, or missing a step that risks wicking liquid toward the label. Move methodically for consistent, spotless results.
Apply liquid cleaners in a spiral, working outward from just past the label edge to the outer groove. Never soak—use dampened cloths instead of sprays. Record label protection is about distance as much as shield placement.
When to Clean Versus When to Dry-Wipe
Inspection comes first. If your record’s only dusty—gentle brushing or a static-cleaning pad may be enough. Skip wet cleaning unless you see visible marks.
Reserve wet methods for fingerprints, sticky grime, or after thrift-shop finds. Always shield the label well before beginning, as even a little cloudiness can turn into a permanent scar.
If unsure, always do less first. A light brush sometimes solves 90 percent of issues without risking any water near the print.
Analogies to Sharpen Technique
Think of cleaning vinyl like washing dishes glazed with hand-painted details: you’d never let soap touch the artwork. Keep solution confined to the operational “plain” of the record.
This analogy prompts you to tap-dab, not rub, right up to the label edge. That way, you maintain album art integrity with each pass—just like preserving a painted plate’s design.
Try narrating your steps: “Clean outer grooves—pause—check label shield—continue.” This talk-through keeps you alert and slows things down so accidents become rare.
Environmental Factors: Storage, Humidity, and Temperature Matter for Long-Term Label Health
Environmental control supports record label protection whenever you clean. Maintaining stable humidity keeps glue from softening and ink crisp, so storage choices directly impact future cleaning safety.
Switch to inner sleeves that repel moisture and dust, such as high-density polyethylene, after every cleaning. Store albums upright, away from direct sunlight or heating vents to prevent warping and label fading.
Scenario Example: Storing a Just-Cleaned Record
Imagine you just finished cleaning. Dry the label zone completely. Slide the album into a new lined sleeve, tucking edges in to prevent corner rubbing.
Place the album upright, nestled between two sturdy LPs, and away from radiators. This minimizes heat gradients around the label that could bubble ink or glue during the next cleaning session.
Finish by confirming the area stays under 70°F, with a humidity monitor if possible. These simple habits slow label decay, preserving your work and investment.
Identifying and Treating Common Label Problems Early
Spotting label damage early prevents it from spreading. If you notice bubbling, fading, or rough edging, pause future cleaning until you isolate the root causes—usually excess moisture or abrasive contact.
Test for loosened label edges by gently tapping a corner with a clean fingernail. If it lifts, stop: re-glue using a water-free archival adhesive, applying with a precision tip to dodge further seepage. Let dry fully before resuming any cleaning.
Mini-Step-Sequence for Touch-Up Repairs
Dry the area thoroughly before starting, using a small fan rather than heat—direct warmth warps the label. Use tweezers to press any lifted edge flat.
Dot a minimal amount of archival glue along the crack or bubble’s edge with a toothpick. Press with a clean, lint-free cloth for sixty seconds.
Keep the album under a lightweight, flat surface for an hour to affix securely. Store upright for 24 hours before resuming cleaning routines. This process repairs minor issues before they become major eyesores.
Defensive Moves to Prevent Label Wear
Avoid touching the label area—even with clean hands—whenever possible. Oils can soak through and degrade print or glue, especially after repeated cleaning cycles.
Instruct family or friends: “Always grip by the outer edge or inner hole, never the label.” Reinforce with a visual reminder near your cleaning station for guests or new collectors.
If you’re passing albums between stations or hands, place index fingers inside the label ring without letting them touch any printed area. These micro-behaviors quickly become habits when modeled during every session.
Routine Care Habits Guarantee Consistent Label Protection Every Time
Building a habit ensures you’ll never skip label protection. Place shields with every cleaning session, check supplies after each use, and reassess damaged covers monthly for safe ongoing cleanings.
Write a checklist to stick on your cleaning station: align shield—dry hands—apply shield—spot check label—begin only when barriers are snug. Over time, this rhythm feels second-nature and keeps you from skipping vital steps.
Fine-Tuning Your Routine for Large Collections
If you have many LPs to clean, prep all shields in advance. Batch-clean three to five records at a time, rotating shields as you move to keep pace without rushing liquids near unprotected areas.
Label different shields by size and color so no mismatches occur. This speeds up sessions and ensures consistent safety across all records. Small organizational tweaks result in big savings on accidental label wear.
End each session by drying and inspecting shields, tossing damaged ones promptly. With good habits, even a big collection stays vibrant and legible across every spin.
Thoughtful Habits Make Label-Safe Cleaning a Lifelong Practice
Prioritizing label health isn’t just about immediate results—it preserves lifelong stories attached to each album. Protecting print detail, color, and glue means every cleaning maintains both function and nostalgia for decades.
Attentive, barrier-driven routines prevent hasty mistakes and build confidence. The little habits—shields, gentle touch, drying—add up, making high-value records and sentimental favorites age beautifully even with regular use.
Your favorite vinyl becomes as rewarding to display as it is to play. With each cautious step, you become a custodian of musical heritage, preserving recordings and the artistry of their presentation.