If you’ve ever held a dusty old record and wondered if it could sound new again, you’re in the right place. Even for digital natives, the charm of retro vinyl cleaning is hard to resist once you’ve heard the difference.
Playing clean records keeps your favorite albums from crackling or skipping, and preserves their looks for years. A few classic methods can make scratched, dirty grooves come alive with authentic warmth.
This article will reveal hands-on tips, real-life examples, and straightforward steps to help anyone restore records with proven retro vinyl cleaning techniques that keep collectors coming back.
Check Your Record’s Condition Before Any Cleaning Session
Every successful cleaning session starts by assessing your vinyl’s condition. Skipping this step can result in permanent damage or missed issues that deserve a gentler touch.
Grab the record and tilt it under a bright light. See dust, fingerprints, or cloudy streaks? If you spot deep scratches or warped edges, you’ll need extra care before cleaning.
Find Wear Patterns Before You Start Scrubbing
Seasoned collectors scan for ring wear, faded labels, and visible groove lines, signaling areas most likely to resist cleaning. Look for shiny or worn patches around the outer edge first.
Running your fingertip carefully along the vinyl reveals bumps or pitting that a brush might miss. This quick inspection helps you decide whether to use liquid, dry, or specialty tools.
Collectors say, “If you squint and see colored streaks in strong light, don’t use harsh brushes”—opt for gentle methods. Write this step on a post-it to check every time you pull an LP from the thrift bin.
Sort Records by Dirt and Damage for Best Results
Put records with visible fingerprints and light surface dust in one pile, while heavily soiled or moldy vinyl goes in another. Your cleaning tools will differ by pile.
Keep sleeves nearby, laying out separate stacks for those that need a quick dust versus a deep clean. This keeps your process efficient and makes it easy to track progress.
If you have rare colored vinyl, check each one as a unique case—some colored pressings require less pressure and softer cloths, mimicking how a chef uses different knives for each dish.
| Condition | Upgrade Needed? | Recommended Tool | Takeaway Step |
|---|---|---|---|
| Light surface dust | No | Carbon fiber brush | Gently sweep entire surface before deeper cleaning |
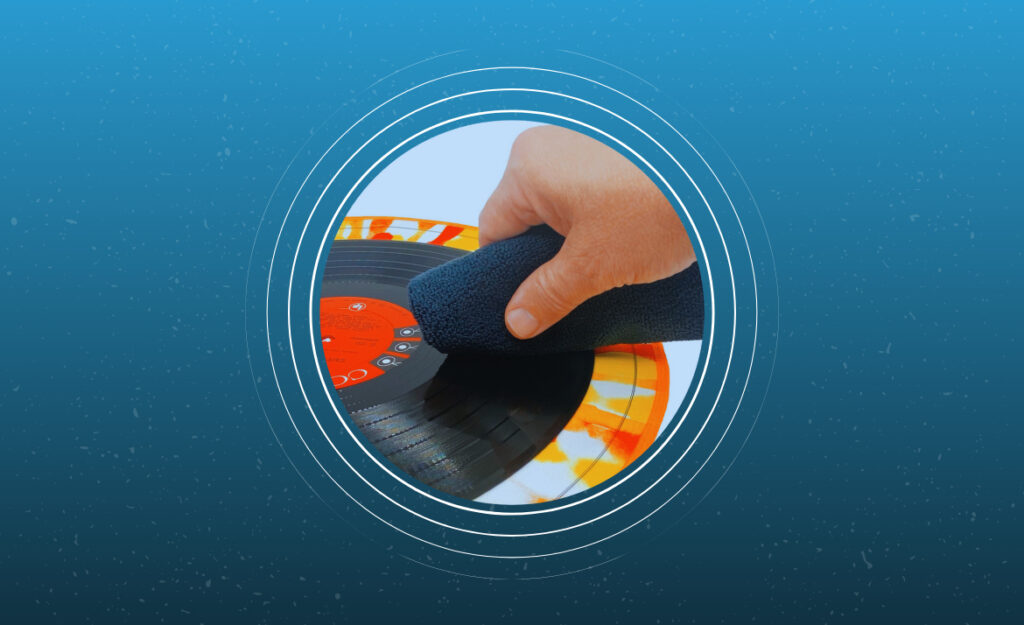
| Fingerprints | No | Microfiber cloth | Buff in circular motion, dry only |
| Sticky spots | Maybe | Simple cleaning fluid | Spot treat, always test first |
| Mold or mildew | Yes | Isopropyl solution | Wear gloves, use soft cloth |
| Deep scratches | Yes | Specialist service | Consult expert, avoid DIY |
Apply Dry and Wet Cleaning Methods for Different Problems
Choosing the right cleaning method saves time and protects your collection. Dry brushes handle dust fast, but tough grime or mold demands precise wet cleaning for top audio clarity.
A basic brush takes care of surface-level grit. Any sign of goo or persistent fingerprints means switching to a controlled, gentle wet clean—always follow up with a lint-free wipe.
Tune Your Approach: When to Go Dry vs. Wet
Use dry brushing before playing any record, just like you’d sweep crumbs from a kitchen counter before wiping it. This removes loose debris without pushing particles deeper.
- Sweep slowly in the direction of the grooves—this tracks the record’s natural pattern and collects dust without smearing it between ridges.
- Puff a burst of compressed air near the label—never use your breath, since saliva and bacteria encourage mold growth over time.
- Avoid using old t-shirts or towels—these shed lint that’s hard to remove. Invest in a dedicated carbon fiber or goat hair brush for weekly dusting sessions.
- Store brushes upright after use—leaving bristles on their side causes permanent bends, so keep them in a clean cup for longevity.
- If one record looks moldy, isolate it immediately. Place it in a clean paper or poly sleeve while you prepare your wet cleaning kit.
If you follow this routine, your records will retain vivid highs and rich bass even after dozens of spins—a crucial step for anyone hooked on retro vinyl cleaning practices.
Wet Cleaning in Action: Mini Checklist for Success
Wet cleaning clears up sticky patches and invisible grime. But using too much fluid risks waterlogging the label, leaving it wrinkled or faded.
- Use distilled water or a pre-made cleaning solution—tap water contains harsh minerals and can etch delicate grooves after drying.
- Saturate a microfiber pad, never apply liquid directly to the vinyl—imagine gently dabbing a pizza slice’s grease without soaking the crust.
- Wipe from the inner to the outer edge—in a single pass, not back and forth. This prevents re-depositing dirt along the sound-producing parts.
- Let the record air-dry upright in a dish rack or between two non-stick surfaces—do not use paper towels which shed fibers inside grooves.
- For stubborn mold, rotate several soft pads, cleaning each section before it dries out. Swap pads often to prevent cross-contamination between records.
Following this wet-cleaning protocol rejuvenates even flea-market finds, letting forgotten classics sing with full warmth and fidelity.
Integrate Retro Tools That Still Get Results
Reliable retro vinyl cleaning kits include more than just brushes and cloths—tools like wooden-handled brushes, antistatic sleeves, and classic handheld vacuums rescue records from years of neglect.
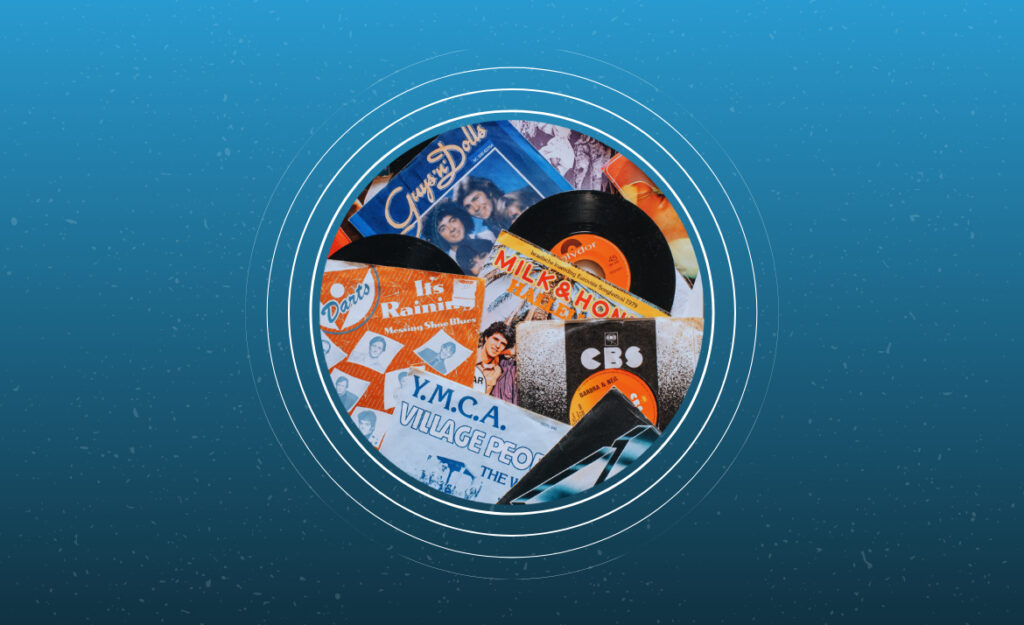
Pulling out these retro tools on your cleaning day connects you to decades of record collector wisdom, giving new life to family hand-me-downs and estate sale treasures.
Wooden Brushes Offer Control Without Scratching
Wooden-handled brushes allow nuanced pressure on delicate records. Slide the bristles along the groove with your palm facing down, just like stroking a favorite pet carefully.
If a classic Hank Mobley album has caked-on powder, a light tap and gentle sweep with this brush brings details forward without scarring the plastic. Practice on less valuable LPs first.
After every use, tap the brush to release trapped debris and store it in a cotton pouch—this routine preserves both the tool and your records for ongoing cleaning sessions.
Pocket Vacuums for Collectors on the Go
A small handheld vacuum designed for vinyl records sucks dust gently out from within grooves. These tools have soft nozzles and battery power, keeping cleaning gentle but efficient.
If a friend drops by with a crate of thrift store finds, pull out this retro gadget to deep-clean three or four albums during your listening party. No mess, no scratches, clear sound every time.
Always test the suction on the outer edge first, never on a label or near a sticker, as pulling too hard could peel or warp decorative details on collectible records.
Give Old Records Fresh Sound with Timeless Techniques
Retro vinyl cleaning methods deliver real results, bringing back the soul of vintage records and letting today’s listeners enjoy deep, clear fidelity across decades.
Sticking to classic steps like careful sorting, dry brushing, and skilled use of retro tools ensures results that modern shortcuts can’t always match, keeping your collection alive with stories and sound.
Share your restored records with others—let each clean spin revive the connection between music, memory, and hands-on care, showing why retro vinyl cleaning still matters for collectors everywhere.