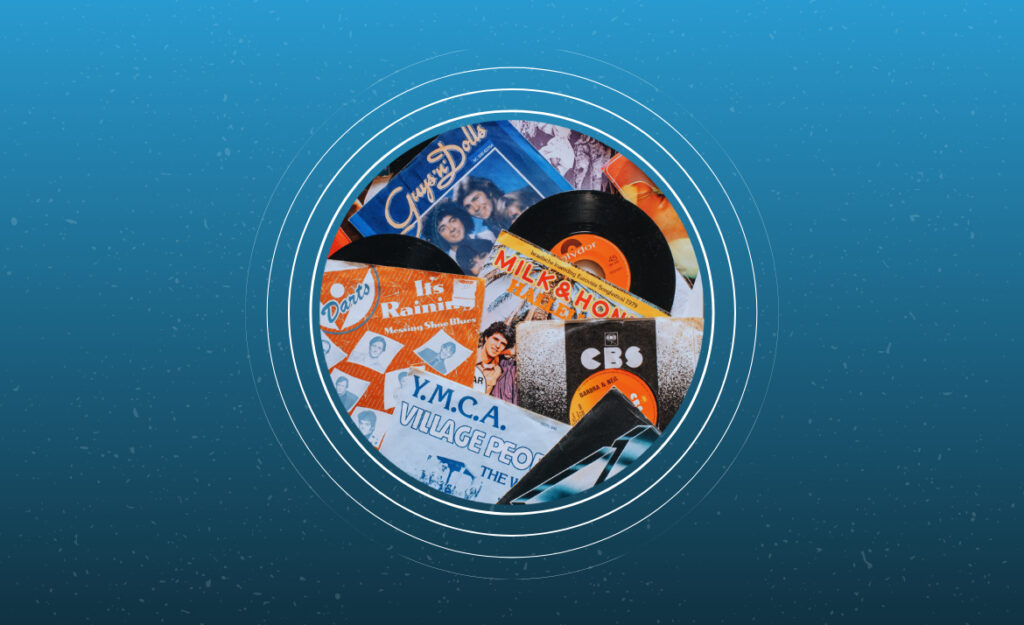
There’s something special about holding a clean record, watching it spin, and knowing every groove is pristine. Smudges from fingerprints can disrupt that satisfaction, which is why so many seek trusted vinyl fingerprint removal methods for their favorite records.
Fingerprints on vinyl do more than look unsightly. They pick up dust, transfer skin oils, and sometimes affect sound quality. Addressing this isn’t just for neat freaks—it’s for anyone who wants crisp, skip-free sound.
If you want clear, enjoyable playback and to keep your collection healthy, you’re in the right place. Read on for effective vinyl fingerprint removal steps, expert strategies, and genuine product comparisons you can use immediately.
Clean Handling: Laying the Groundwork for Smudge-Free Listening
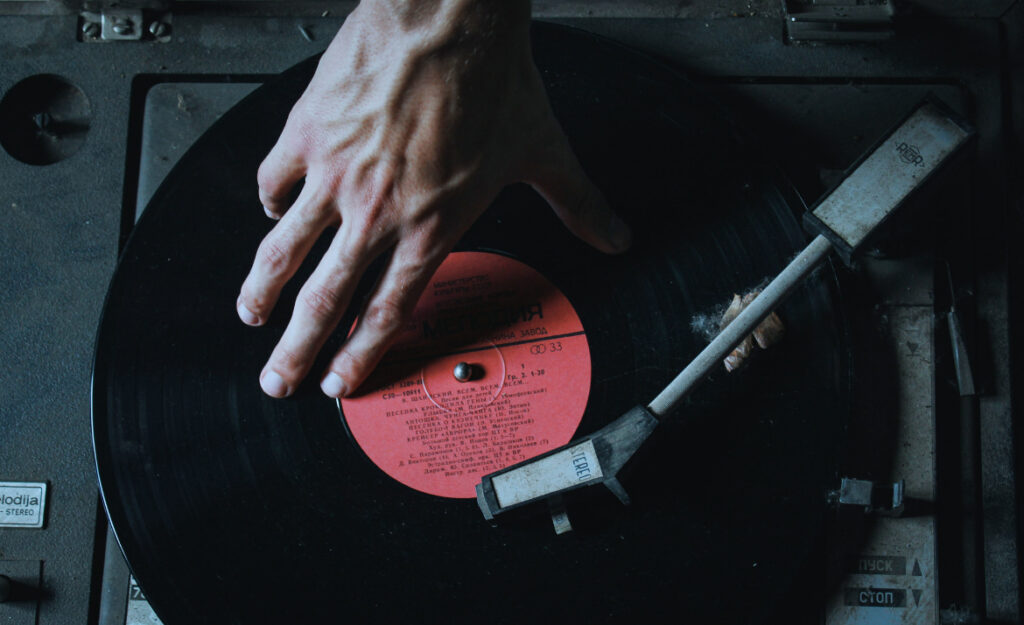
Grabbing records by the edge prevents oily fingerprints before they happen. Simple habits keep vinyl clean. Get in the groove of using two hands on the outer rim and inner label whenever you handle your collection.
Think of vinyl records like a favorite photo album. Each thumbprint adds a mark. Over time, those marks dull memories. By staying mindful, every record can remain vivid in both look and sound.
Pro-Handling Moves for Everyday Use
Store records upright to limit unnecessary pressure and avoid stacking them, which presses dirt deeper into the grooves. When selecting a record, slide it from the sleeve with fingertips on the center label and edge.
Avoid holding albums flat in your palm; oils from even clean skin leave lasting residue. Encourage guests to practice these same handling habits to preserve your vinyl’s quality and longevity at every spin.
If a smudge appears while handling, address it immediately with a gentle brush or approved cleaner. Following this quick response routine lessens the chance of those fingerprints embedding more stubbornly.
Preventative Tricks You Can Start Today
Keep a microfiber cloth near your turntable. Quick wipes remove contaminants before they settle. Make it a personal rule: no eating or drinking near records to prevent sticky mishaps and accidental marring.
Wash hands before record handling, especially if you’ve applied lotion or handled food. Even invisible oils can attract dust, which gets packed into grooves where it’s harder to dislodge.
Some collectors use antistatic inner sleeves. These trap less dust and reduce static cling. Swapping paper sleeves for these alternatives can make vinyl fingerprint removal easier down the road.
| Action | Why It Matters | When To Do It | Takeaway |
|---|---|---|---|
| Wash Hands | Removes oils | Before handling | Start every listening session clean |
| Handle Edges | Prevents smudges | Anytime you touch records | Hold like a pizza, only rim and label |
| Use Microfiber Cloth | Quick dust removal | After each play | Wipe away surface grime |
| Choose Proper Sleeves | Less debris inside | When storing | Switch to antistatic liners |
| Immediate Cleanup | Stops stain-setting | When smudges appear | Use gentle cleaning methods |
Picking the Right Tools: Using Items That Get Results
Selecting the best cleaning supplies ensures each vinyl fingerprint removal attempt works without harm. Start with dedicated record brushes, approved microfiber cloths, and only record-safe solutions.
You’ll see marketing for various cleaning gadgets, but simplicity is key. The goal: true cleanliness, not fancy gear. Using trusted, widely tested tools creates great results for every collector’s budget.
Using Microfiber and Antistatic Brushes
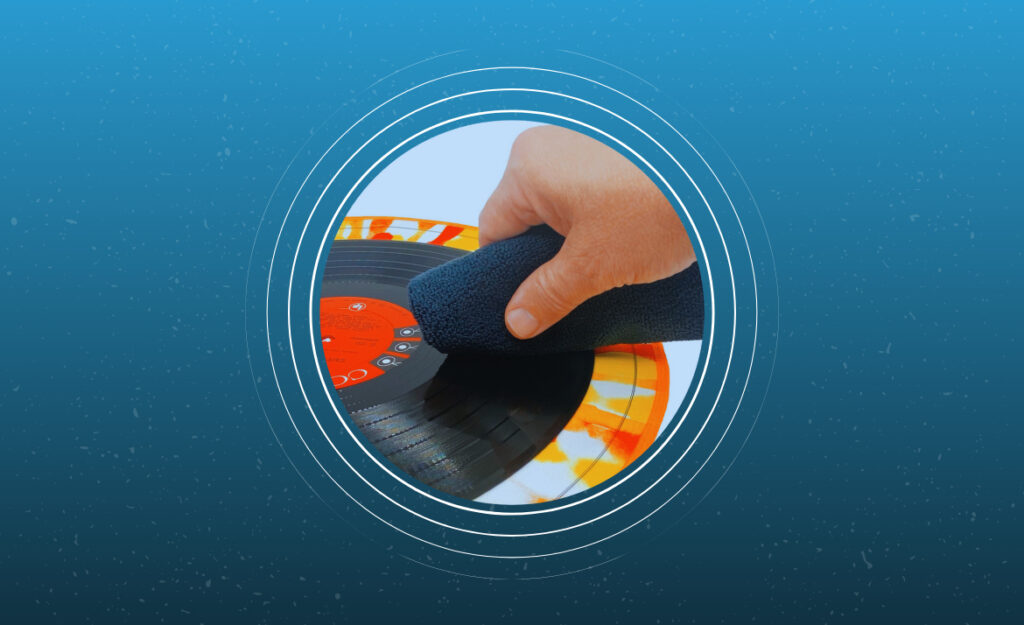
Microfiber offers soft, lint-free cleaning. Gently wipe fingerprints in a straight motion following the record groove, not across it. Antistatic brushes lift particles and reduce static, making dust less likely to attract new prints.
- Select a soft-bristled carbon fiber brush for dry use, which safely removes loose debris and resets static buildup.
- Use a quality microfiber cloth to polish away oily smudges, always with gentle pressure and in the direction of grooves.
- Always store these tools in a dust-free container to maintain effectiveness, avoiding accidental transfer of grit.
- Avoid generic household dusters that can shed fibers, clog groves, or scratch delicate surfaces.
- Replace cleaning pads regularly—old, dirty applicators undo your hard work by spreading new contaminants.
After each use, examine your brush or cloth under light. If particles are visible, gently hand-wash with a mild detergent and air dry.
Liquid Solutions and DIY Recipes: What Works and What To Skip
Record cleaning solutions must evaporate quickly and leave zero residue. Commercial products labeled as “for vinyl” are tested for safety. If you mix your own, combine distilled water with a small drop of unscented dish soap. Never use tap water or alcohol.
- Mix only small amounts—old solutions collect dust and bacteria that harm vinyl coatings.
- Avoid ammonia, window cleaners, or household sprays, which can warp or cloud records permanently.
- A spray-mist bottle ensures even distribution and keeps moisture from pooling in the label area.
- Apply solution to the cloth—not directly onto the record—to control liquid exposure and avoid overspray onto the label.
- After cleaning, use a dry microfiber towel to wipe any leftover moisture before shelving the record again.
Before using any new solution, test a small corner for safety. If you notice film or cloudiness, stop and choose a record-specific formula.
Hands-On Steps: Following a Safe Cleaning Routine Every Time
Consistent routines separate pristine record libraries from crackling ones. A solid vinyl fingerprint removal workflow starts with correct placement and attention to detail. Here’s a walkthrough anyone can try after a session.
Lay your record on a designated cleaning mat, never a rough or dirty surface. This protects grooves from embedded dirt while you work. Make circles around the album—never drag across the grooves.
Step-by-Step Daily Cleaning Example
First, dust with a carbon fiber brush, following the path of the grooves in a full rotation. This step whisks away loose grit so nothing scrapes deeper during wet cleaning.
Next, apply cleaning solution lightly to a microfiber towel or record pad. Gently guide the cloth along the grooves, rotating the record as you go so each section receives even coverage.
Finish by drying with a separate, ultra-soft towel, again moving only along the grooves. Lift the record vertically for a quick final inspection using natural light to check for missed spots or leftover residue.
Troubleshooting Stubborn Prints and Residue
Occasionally, fingerprints refuse to budge with your go-to method. If a print remains, repeat the cleaning solution step after letting the record air out for a few minutes. Use fresh towels to ensure you’re not reapplying oil from an earlier pass.
If oily spots persist, add a touch more solution and change the angle of your cloth. Try shorter, gentle strokes in the groove’s direction for targeted removal, being careful not to saturate the record.
Extra-resistant marks may need a specialty cleaning pad designed for deeper cleaning. Rotate pads regularly and check for wear to avoid accidental micro-scratches as you troubleshoot.
Adopting Better Habits: Everyday Steps to Fewer Fingerprints
Cleaner habits keep records sounding spectacular with less hands-on work. Simple, consistent behaviors pay off over time, making vinyl fingerprint removal a rare necessity rather than a constant chore.
Every collector benefits from a no-touch rule for others in the home or studio. Visible reminder notes near your turntable prompt respectful handling. A quick, spoken script—”Hold only the edges, please”—can save hours of cleaning later.
- Wash hands each time before selecting records. Positioned by the turntable, a sanitizer or hand wipe station makes it easy for everyone.
- Keep snacks and drinks well away from albums and gear to avoid sticky prints and accidental splatters that attract dirt.
- Wipe down the turntable mat and dust cover regularly to prevent dirt transfer onto vinyl surfaces during use.
- Return every record to its sleeve immediately after play—avoid leaving them out in the open, where airborne oils and dust settle fast.
- Make the last step of each session a quick visual check for new smudges or prints so problems are caught early.
Turning these easy steps into habits creates a cycle of cleaner, healthier records that require less deep cleaning overall.
Establishing a Care Routine the Whole Household Can Follow
Families or roommates with shared collections benefit from a displayed checklist near the listening area. Laminate a card: “Wash, grab edge, brush before use, store carefully.” Over time, it becomes automatic for everyone involved.
Even young listeners can master these steps with reminders and supervision. Consistency reinforces the message that your vinyl is a long-term investment worth protecting.
Set up a reward system for following the checklist, such as the picker controls the next album choice or gets to choose the next cleaning soundtrack.
Comparing DIY and Commercial Cleaning Methods: Pros, Cons, and Practical Choices
Weighing homemade versus store-bought products helps collectors decide what belongs in their arsenal. DIY methods can be cost-effective and accessible with common household items, while commercial solutions bring consistency and safety for specialty materials.
Both approaches deliver strong vinyl fingerprint removal, as long as each product or mixture is applied with gentle care and proper technique.
| Cleaning Method | Cost | Results | Recommended For |
|---|---|---|---|
| Commercial Record Cleaner | $$ | Consistent, safe | Collectors and audiophiles |
| DIY Distilled Water/Soap | $ | Effective if mixed right | Beginners and budget-friendly |
| Microfiber Cloth | $ | Quick smudge removal | Everyday maintenance |
| Antistatic Brush | $$ | Reduces repeats, lifts dust | Static-prone environments |
| Vacuum Cleaning Machine | $$$ | Deepest clean possible | Large collections, serious archiving |
Mixing Your Own: Formula Do’s and Don’ts
Only use distilled water for DIY cleaning. A single drop of plain dish soap per cup provides enough lift to tackle oils without sticky residue. Never substitute rubbing alcohol or strong cleaners, since they can dry out or damage delicate vinyl.
For best results, mix fresh before each session, shaking gently to dissolve the soap evenly. Apply with a dedicated clean cloth and store any leftovers sealed from airborne dust or pet hair.
If you notice cloudiness, immediately rinse the surface with more distilled water and dry thoroughly before playing. Consistent quality control saves you trouble in the long run.
Trying Commercial Solutions: Picking the Right One
Look for brands advertising as “record-safe” or “vinyl-specific”—these products are tested to avoid buildup or surface harm. Read labels closely; avoid solutions listing alcohol, ammonia, or harsh surfactants.
Try a small bottle before investing in a large kit to ensure compatibility with your records, especially if you notice residue or scent transfer after use. Clean off any leftover moisture before shelving records again.
Store commercial cleaners upright and away from heat. Shake well before use, and always check expiration dates for best performance.
Hybrid Methods: Combining Best Practices
Using both DIY and commercial strategies covers a wider range of smudges and storage situations. Keep both an antistatic brush and approved solution handy to stay ready for every scenario.
Alternate weekly deep cleans with daily wipe-downs for a balance of thoroughness and efficiency. Track what works best for your collection to develop a customized routine.
Every record, old or new, can benefit from this flexible approach—preserving audio clarity and visual appeal with less stress.
Smart Storage: Keeping Your Records Spotless Between Listens
Proper storage techniques go a long way to reduce fingerprint buildup. Keeping your vinyl upright and covered limits contact with airborne debris and the chance of accidental smudging during routine use.
Opt for shelving with enough space that records can slide freely without tight squeezing; crowding leads to scuffs and more fingerprints per play session.
- Invest in antistatic inner sleeves to provide a durable barrier between the record itself and dust-prone outer jackets.
- Store records vertically, never stacked, to avoid warping and make sliding albums out less risky for accidental palm prints.
- Label each sleeve clearly so you can select titles quickly, reducing the need to touch each album while searching for your favorite track.
- Keep your storage area climate-controlled to prevent humidity that encourages sticky residue and static, further minimizing the need for vinyl fingerprint removal.
- Use a soft, dedicated shelf cloth for shelving—this prevents dust transfer onto covers and sleeves while organizing.
With a few thoughtful tweaks to your shelving setup, fingerprints become rare—leaving more time for pure listening pleasure.
Maintaining Top Condition: Building Your Personal Vinyl Care Routine
Routine care delivers lasting results and a satisfying sound. Scheduling regular cleaning, organizing supplies, and tracking what works for each record provides long-running benefits far beyond simple vinyl fingerprint removal.
Document your routine with a checklist or quick-reference card. Logging which records require more attention develops a system that backs up audio quality for years to come.
Involve friends or family by assigning roles on cleaning days—one handles brushes, another checks sleeves. Shared effort makes upkeep lighter and more enjoyable. Over time, these small traditions foster lasting respect for every album.
Mixing Habit with Innovation
Combine classic methods like brushing and wiping with occasional upgrades to newer cleaning solutions. Experiment during less valuable sides when trying unfamiliar techniques, and always log outcomes for repeat success.
See your collection as a living library: gentle cleans, purposeful habits, and open-minded tool use extend every LP’s life. By building a routine, you safeguard future enjoyment and simplify maintenance.
A favorite playlist during cleaning invites anticipation and makes each session special. Consider a monthly music-and-maintenance tradition—your records (and ears) will thank you.