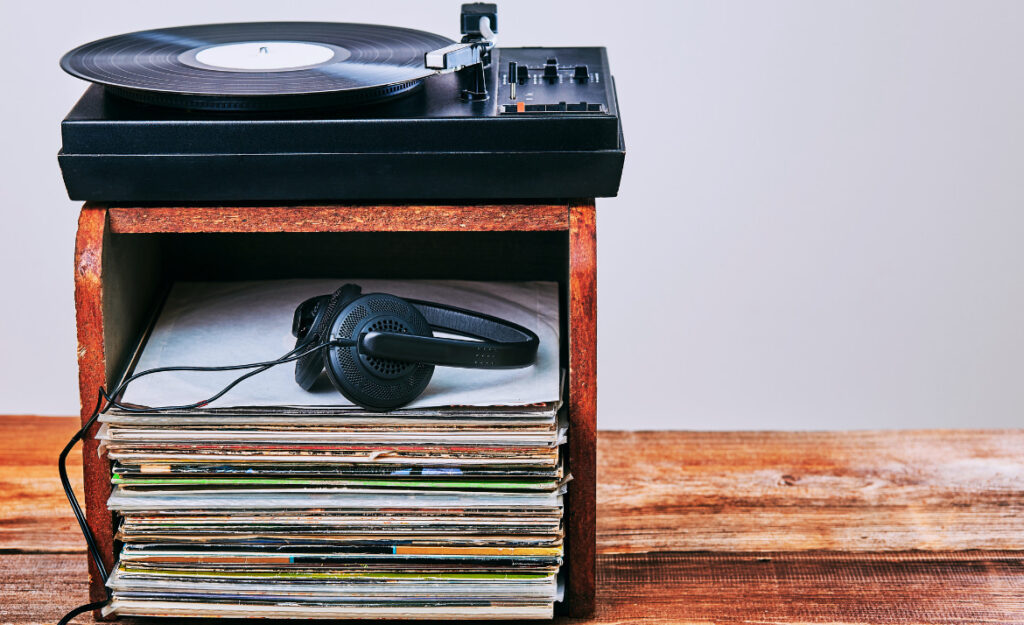
There’s nothing quite like digging an old box from the attic only to find your first turntable and a stack of beloved vinyl records. Curiosity strikes, and the urge to bring those classic sounds back is irresistible. That’s where stored turntable restoration quickly becomes the focus—an adventure that transforms dust and neglect into music and nostalgia.
For vinyl enthusiasts and newcomers alike, learning to revive an old player means more than pressing play. Preserving both the turntable and your records ensures the vinyl listening experience remains warm, rich, and true for years to come. Each step requires a careful touch and a practical plan.
As you read ahead, expect actionable advice, practical step-by-step scenarios, and clear rules to bring your forgotten vinyl gear back to smooth operation. Let’s dive into the world where every meticulous motion leads you closer to hearing that first clean note again.
Inspecting for Value: Spot Hazards Before Cleaning
You’ll recognize hidden risks and potential gold in every corner when you begin by inspecting your turntable. Noticing condition, materials, and even small moving parts helps form the backbone of effective restoration.
Looking at both the exterior and under the platter reveals dust, mold, degraded rubber, and possible insect nests. Stored turntable restoration means a full-body evaluation for underlying problems before any cleaning attempts.
Examine Dust and Debris: Identify Cleaning Priorities
Position the turntable under strong light and sweep your gaze across every surface. Dust, grime, and debris typically build up on tonearms, platters, and controls. It’s common to find a sticky residue near the edges where hands once rested.
Record any visible damage or cracking on plastic parts. Gently tap the dust cover to see if loose dirt falls or if static keeps particles stuck. Use a small, soft brush to probe inside crevices and observe what’s blocking delicate mechanical action.
The goal is to make a realistic list. Jot down: “Tonearm sticky—needs deep clean” or “Plinth shows minor scuffing.” These details guide every next step and prevent accidental breaks.
Assess Rubber Components: Discover Wear and Tear
Lift the platter and gently flex any drive belts. Aging rubber may crumble, stretch, or display a white dust—signals of decay that affect speed stability. When pressed slightly, a good belt returns to shape, while a bad one feels brittle.
Check for feet mounts and grommets below the unit. Deterioration here causes vibration issues, making records sound unsteady or fuzzy. Pen down replacements needed so you’re prepared before firing up the player.
Spend an extra moment with the stylus suspension. If you notice warping or cracks, keep the tonearm anchored and plan to replace the stylus before attempting playback.
Table: Common Hazards In Stored Turntables
| Hazard | Identification | Impact | What To Do Next |
|---|---|---|---|
| Dried dust | Gray coating on surfaces | Tone quality loss, stuck mechanics | Use brush and vacuum gently before any wet cleaning |
| Degraded belt | Brittle, cracked, saggy rubber | Improper speed, wow/flutter | Order correct size replacement belt |
| Mold | Black/green patches, musty smell | Stylus, record, and health risks | Isolate, clean with alcohol-based solution |
| Corrosion | Greenish-white powder at metal joints | Loss of electrical contact, hums | Scrub gently with contact cleaner |
| Hardened grease | Thick, waxy, yellow residue on moving parts | Jam, sluggish action | Remove old lubricant, reapply fresh grease |
Cleaning Workflows: Safe Steps to Clear Debris and Grime
Executing a clean workflow means you won’t scratch, warp, or contaminate anything during stored turntable restoration. Each phase uses the proper tool at just the right moment.
Start with a dry sweep and transition to specialized solvents and lubricants when surfaces allow. This removes harm from both biological and chemical build-up while leaving delicate finishes intact.
Tracking Dust Trails: Smart Sequences for Deep Cleaning
Always begin dry, starting with a soft artist’s brush and low-powered vacuum. While moving the brush, guide debris toward the nozzle without contact. This avoids grinding particles into the finish or short-circuiting controls.
- Lift dust cover and gently sweep away loose debris so you reveal hidden crevices for later cleaning.
- Brush the stylus gently from back to front, ensuring you don’t twist the fragile cantilever as you go.
- Twist knobs and slide faders to clear trapped dirt, working with the controls not against them, to keep wear low.
- Inspect switches by toggling each a few times for grit. If resistance appears, record the need for future lubrication rather than forcing movement.
- Wipe plinth and buttons with a slightly damp microfiber, following the grain so original finishes aren’t marred, and let dry naturally before reassembly.
After these steps, any stuck-on grime or odor points to focused wet cleaning. Always check for paint flaking or fading before using liquids.
Solvent Caution: Avoiding Permanent Damage
Test cleaning agents on small, hidden spots. If discoloration or bubbling appears, switch to milder solutions. Never soak exposed electronics. Aim for a light wipe using isopropyl alcohol at a ratio suitable for vintage plastics.
- Apply solution sparingly on a lint-free cloth, dabbing gently so you don’t blur decals or melt acrylics.
- Don’t use soap-laden sponges on faders or tonearm pivots—mechanical residue can build up and gum movement.
- If mold is present, ventilate the area and wear gloves. Allow surfaces to dry completely before reconnecting any parts for use.
- Use toothpicks wrapped in cloth to detail clear corners or logo indentations, minimizing both friction and bending risk.
- Finish by polishing with a vinyl-safe restorative, applied only after full cleaning and drying has locked out future dust intrusion.
Now you’re ready for lubrication, adjusting, and testing. A thorough clean sets the foundation for stored turntable restoration results that last.
Rejuvenating Mechanisms: Revive Belts, Bearings, and Gears
Mending moving parts brings that buttery-smooth rotation and gentle cueing return. Each tweak gives new precision, letting your vinyl records play true without skips or warbles.
Analogous to tuning a vintage watch, stored turntable restoration demands close attention to how the platter, motor, and tonearm interact. Even a small adjustment brings a big difference to playback joy.
Treating Platter Bearings for Smooth Rotation
Remove the platter. Wipe the bearing shaft with a clean cloth—look for gray or black streaking, which means old grease has mixed with debris. Soak residue with isopropyl, then let air-dry.
Apply just one drop of synthetic lubricant to the shaft. Replace the platter, spin gently, then check for any wobble. “Feels silky and even throughout the turn” is a sign that lubrication is spot-on.
Any persistent grinding or resistance signals a worn bearing or bent shaft—it’s wise to pause, consult a parts manual, and avoid heavy force, preserving the bearing’s lifespan.
Refreshing Belt Drives for Consistent Speed
Reference a measured tape or caliper to confirm correct belt size. Stretching old belts leads to wow and flutter—a warbling sound hinting at unreliable playback. If the belt snaps, discard it immediately.
Thread a replacement belt along the designated path. Use an index card as a gentle guide, keeping fingers oil-free in the process. Once seated, spin by hand while observing for alignment issues or slack.
The platter’s motion should become steady—visualize a record spinning perfectly, stylus gliding smoothly without visible shakes. If inconsistent, recheck the motor spindle for built-up residue or excess play.
Upgrading Key Components: Swapping Out Stylus, Cables, and Mats
Quick swaps breathe new life into audio performance during stored turntable restoration. Updating stylus, cables, and mats removes veiling and hum, restoring the crisp, original clarity of your vinyl records.
Think of these parts as both the mouth and the messenger for your player—when clear, your favorite albums sing with renewed detail.
Stylus Replacement: Precision Pays Off
Pinch the stylus body between thumb and forefinger, pulling straight out—never twist. If resistance is felt, double-check the retention clip and try again with gentle rocking. Watch for bent cantilevers or missing diamonds, which demand immediate replacement.
Align the new stylus with the cartridge body’s rails. Press until a faint “snap” is heard. Always inspect with a magnifier for proper seating before cueing up a treasured record. A misaligned stylus chews vinyl, risking irreversible grooves.
If unsure, refer to a cartridge alignment protractor. Proper setup echoes in every note, reducing surface noise and prolonging cartridge life.
Low-Noise Cables: Silence the Static for Clear Sound
Undo old RCA or DIN connectors by grasping at the plug base, not the cord. Frayed tips, loose jackets, or greenish corrosion signal it’s time to discard and replace with new, shielded cables rated for phono use.
Route replacements away from power cords, crossing at 90 degrees where lines must meet. This technique sharply reduces hum and electrical haze. When plugging in, rotate plugs slightly for firm contact, then listen for silence—no buzz, just anticipation.
Testing playback before and after usually reveals a cleaner background. If hum persists, trace ground wire connectivity and secure all screws before using the ground terminal on your amplifier.
Protecting Restored Players: Long-Term Storage and Display
Your newly restored turntable shines brightest when protected from dust, sunlight, and vibration going forward. A smart display plan saves you repeating the restoration process and extends the enjoyment of your vinyl collection.
Follow a routine that guards against environmental and mechanical threats. Simple choices, like using an acrylic dust cover or controlling humidity in the storage area, pay dividends each time you reach for a record.
Choosing a Display Spot That Prevents Future Damage
Place your turntable away from radiators, windows, or direct heaters. Aim for a stable, level surface with minimal foot traffic nearby. Bookshelf-style stands or custom plinths reduce jostling and vibration transfer to the stylus.
Minimize exposure to bright light by using curtains or UV-blocking films. Sunlight fades paints and plastics, dulls logos, and slowly warps dust covers. Picture the turntable as a camera—shadow equals preservation.
Once situated, periodically rotate your collection to prevent uneven bearings. Every few months, dust with a soft brush so static doesn’t attract more buildup.
Covering and Humidity: Keeping Dust and Mold Out
Acrylic dust covers or fitted fabric shrouds act like shields, keeping airborne grime and accidental splashes away. Always remove covers gently—no jerky pulls that flex the hinges or plastic.
If you reside in a humid environment, invest in silica gel packets or a small dehumidifier for your storage zone. Mold finds its way into felt mats and even vinyl sleeves, quietly multiplying behind unsealed covers.
Follow a succinct checklist: “Cover on after each use. Check humidity monthly. Brush dust weekly.” This keeps both sound and style strong for years.
Navigating Vintage Features: Understanding Unique Controls and Settings
Familiarity with vintage controls makes operating a stored turntable intuitive and fun. Each brand and era offers quirks—manual lifts, strobe lights, or magnetic anti-skate—that reward patient learning.
Identifying and mastering these touchpoints creates a deeper appreciation every time you cue up a new side of vinyl.
Exploring Manual and Automatic Cueing Controls
Older turntables feature either manual arms—where fingers lift and move the stylus—or automatic cueing levers. Find the lever near the base of the tonearm. It should glide upward without abrupt clicks when recently lubricated.
Manual operation favors control, letting users lower the stylus slowly onto silent groove areas. Some owners say: “Cue lever stiff—oil applied, now buttery.” Test on a non-valuable record if you’re new to vintage mechanisms.
If the cueing action seems fast or loud, stop. Examine the damper fluid reservoir hidden below. Often, old fluid thickens to molasses—replacement brings instant smoothness.
Fine-Tuning Speed and Anti-Skate Settings
Calibrate speed dials using an included strobe disc or downloadable phone app. Compare visual strobe bands to verify 33 or 45 RPM steadiness. Listen for stable pitch with piano notes—they reveal speed errors quickly.
Adjust anti-skate knobs to match tracking force. A correctly set system keeps the stylus centered, eliminating inner-groove distortion or one-sided wear. The phrase “slides perfectly without drift” signals a job well done.
Should pitch waver or skate across grooves, revisit belt, mat, or bearing work. Each system compensates for past neglect in unique ways—there’s no one-size-fits-all, but precision pays off.
Keeping Momentum: Routine Care for Reliable Vinyl Playback
Maintenance practices keep your stored turntable restoration shining. Small, regular checkups guard against both sudden breakdowns and the gradual creep of dust and static, which degrade playback in subtle but frustrating ways.
A monthly calendar for quick checks cements reliability and can save a favorite record from avoidable skips. Adopt habits now for continuous enjoyment.
- Brush the stylus before and after each session to remove dust and avoid accumulating grit that carves grooves prematurely.
- Inspect both belt and platter for plush rotation; change belts IMMEDIATELY if rubber feels tacky, deters sudden slowdowns or wow in playback.
- Wipe exposed parts with a dry microfiber weekly, including controls; avoids greasy buildup and prevents sticky mechanical parts.
- Log minor changes or noises in a notebook—track squeaks, hums, or reluctance at startups, and pinpoint emerging issues before they cripple performance.
- Check storage humidity and replace silica packets as needed, heading off mold outbreaks on mats and album sleeves before they evolve.
Pair habits with gentle listening volume to limit stylus and speaker wear. Over time, both you and your vinyl players become experts in sound and care.