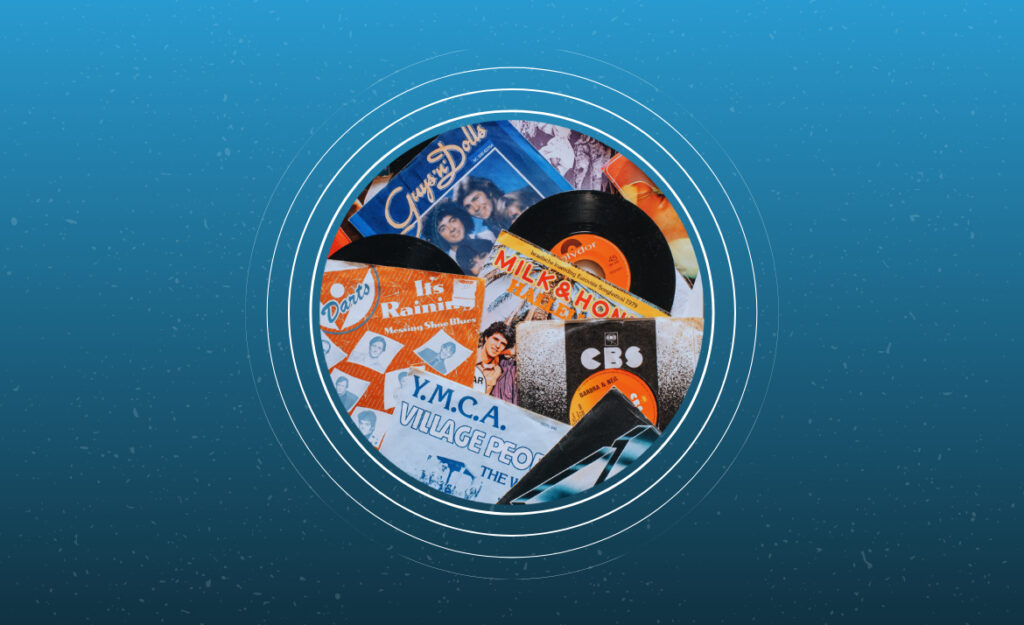
Few things are as satisfying as listening to a treasured vinyl record, but watching dust settle on a spinning favorite can ruin that pleasure. That’s where anti static vinyl care enters the scene, bridging the gap between fresh sound and persistent static noise. Imagine spinning a newly cleaned record and hearing every note clear, free from interference.
Careless handling leads to static buildup and dust, impacting audio quality and shortening the lifespan of your records. Countless collectors find themselves facing unwanted pops, clicks, or muddy sound from poorly maintained vinyl, especially when static isn’t addressed directly. Keeping dust and static at bay enhances every listening session.
If you want well-preserved records, mastering the habits and routines that make anti static vinyl care effective is essential. Dive into the next sections for practical tips, smart comparisons, and real-world routines that help any music lover enjoy clarity with each play.
Establish a Consistent Vinyl Cleaning Routine for Immediate Improvement
Setting up a simple habit of cleaning your records keeps dust and static from accumulating in the first place. Make each listen a ritual that includes a fast but effective cleaning step, so you’ll hear the change right away.
Rituals matter. Think of your vinyl routine like brushing your teeth: a little effort daily saves a lot of trouble later. Clean records today mean flawless playback next time.
Use a Carbon Fiber Brush for Daily Maintenance
Hold your record flat and gently move a carbon fiber brush along the grooves as it spins. This tool sweeps away surface dust and neutralizes static in seconds. Listeners notice fewer pops and clicks, plus less buildup every time.
Complete the process before and after each play. After one side finishes, repeat the sweeping motion before you flip the record. This tiny commitment keeps every side ready to enjoy.
Think of this brush as your “reset button” for your turntable. Taking these few seconds trains your ear to instantly hear the difference between a clean and dirty disc.
Wet Cleaning: What Works and What to Avoid
Choose a true anti static vinyl formula rather than tap water or household cleaners. Specialized solutions lift grime without leaving a residue or introducing long-term harm, unlike products not made for records.
Apply with a microfiber cloth or a soft applicator pad in tight, circular motions. Let the record dry fully before play—the improvement in surface noise is immediate and lasting.
Don’t use paper towels, as they can scratch the grooves and deposit fibers. Genuine, record-safe tools and cleaners extend your collection’s lifespan instead of shortening it.
| Cleaning Method | Tools Needed | Effectiveness | What to Do Next |
|---|---|---|---|
| Dry Brushing | Carbon fiber brush | Removes surface dust quickly | Use before playback for best results |
| Wet Cleaning | Anti static solution, microfiber pad | Removes grime and static | Dry thoroughly, then store safely |
| Vacuum Machines | Record cleaning machine | Deep cleans, minimal residue | Reserve for deep cleaning sessions |
| Gel Rollers | Cleaning gel roller | Good for removing residual dust | Use for stubborn particles, follow with dry brush |
| Ultrasound Baths | Ultrasonic cleaner | Thoroughly removes fine particles | Ideal for rare or valuable records |
Upgrade Your Storage Methods to Minimize Dust and Static
Smart storage directly prevents static buildup and airborne dust from settling on your collection. Adopt these improvements, and you’ll handle less cleaning overall—plus, each vinyl sounds better during playback, no matter how frequently you spin them.
Sleeving and shelving matter just as much as cleaning routines. You’ll see fewer lint particles and scratches when records are placed into the right sleeves and stored upright, away from heat or moisture.
Choose Inner and Outer Sleeves That Stop Static
Polyethylene inner sleeves provide a gentle, anti static barrier that protects grooves—perfect for anyone who pulls records out by the edge. Heavier plastic outer sleeves guard against scratches and keep cover art pristine at the same time.
- Use anti static inner sleeves: They don’t attract dust and keep records smooth during inserts and removals, ensuring longer-lasting sound quality every time.
- Replace paper sleeves: Old paper sleeves break down and leave residue inside the grooves, causing both static and pops with each play.
- Select resealable outer sleeves: These sleeves shield records from dust in the air and add a layer of protection from accidental spills or scratches.
- Store records vertically: Stacking records flat causes warping and makes dust settle unevenly across the surface, affecting playback and collectibility.
- Keep storage away from heat: Heat promotes warping and static by drying the vinyl, making it prone to surface cracks and dust attraction.
Use a checklist for storage days: “Do I have the right sleeves? Are the records vertical? Is the humidity moderate?” This ensures each album stays in top shape, both in looks and sound.
Adopt Shelving Best Practices in Your Listening Room
Position shelving away from radiators, vents, or direct sunlight. These simple moves prevent temperature swings that worsen static and dust problems.
- Install adjustable shelves: Adapt to changing collection size and avoid leaning or pressure that causes sleeve wear and surface noise.
- Dust shelves weekly: A dry microfiber cloth used regularly stops particles from collecting and transferring onto your records.
- Use room air purifiers: These trap airborne dust and pet dander, cutting down the amount settling on covers or inside sleeves.
- Maintain good airflow: Stuffy rooms increase dust landing on your collection and create charged environments where static flourishes.
- Place records above floor level: Lower shelves shop more dust, so keeping albums slightly higher preserves them for longer.
Follow this five-point list for ongoing storage protection. You’ll catch problems early, before they affect your next listening session, and keep every album sounding great.
Adopt Static Control in Your Record Handling Habits
Anti static vinyl care means more than just cleaning and storage; actions like touching records and flipping sides influence static and dust. Applying mindful techniques in handling can make a substantial difference in playback quality immediately.
Every time you touch a record’s grooves, you risk adding fingerprints and oils that attract dust. Holding each disc carefully by its edge offers better preservation and clarity for future plays.
Handle Vinyl Like a Pro Collector
Grasp discs using fingertips on the outer rim and the labeled center only. This habit requires a bit of attention—but adopting it means fewer skips and less static every time the needle drops.
Wear anti static gloves for rare or high-value records. Even bare hands carry slight static; gloves neutralize this risk in a simple, visible way for collectors wanting extra protection.
Announce your intention, as collectors do: “Let’s handle this Bowie by the edge—no fingerprints or pops tomorrow.” Build muscle memory and repeat this easy script aloud to others joining your session.
Limit Contact with Audio Components
Touch only the tonearm’s handle and the edge of the platter when queuing up records. Direct contact with other parts causes dust transfer and static discharge—making these habits core to everyday enjoyment.
Avoid leaning on the turntable while cueing up tracks. Doing so increases friction and can trigger static or attract extra lint and fibers in the process.
Develop a home audio etiquette: “Hand off by the rim, never the grooves.” Sharing these instructions with guests or family reinforces the best outcomes for everyone’s collection.
Identify Environmental Factors That Contribute to Dust and Static
Actively controlling the room’s environment means fewer issues with dust and persistent static in your listening space. Every adjustment you make enhances both the sound and longevity of your collection.
Humidity and airflow play a vital role in record care. Too dry, and static spikes; too humid, and you risk mold. Find your space’s balance for optimal vinyl experiences every time.
Balance Humidity for Reduced Static
Keep relative humidity between 40 and 55 percent. Use a digital hygrometer for accuracy. If the air’s too dry, a small humidifier reduces static, making records easier to handle and clean.
Monitor levels weekly and especially during seasonal shifts. Even a few percentage points outside the target range makes static more persistent, leading to audible pops and increased dust attraction.
If static returns in winter, act immediately. Place a portable humidifier near your shelves and document how noise and dust change with each adjustment. Refine from there for the ideal listening space.
Improve Air Quality and Air Flow
Install HEPA air purifiers in rooms where you store and play records. These remove ultrafine dust, pollen, and pet dander, all of which hold a charge and stick to your vinyl surface.
Curtail room clutter, too. Items like paper, plush fabrics, and carpets attract extra static—swap for smooth, easy-to-clean surfaces for less build-up over time.
A weekly routine of opening a window for half an hour can drastically improve air flow. Pair these tricks and watch dust and static ease, especially for static-prone records.
Incorporate Anti Static Tools and Accessories into Everyday Play
Immediately improve record sound by bringing in specialized anti static vinyl equipment at the beginning of each playback or cleaning session. These tools extend the benefits of storage and cleaning without extra effort.
Start with a carbon fiber brush and expand to anti static mats, sleeves, and cleaning solutions. Every item plays a role in protecting audio clarity and record longevity for ongoing enjoyment.
Choose the Right Accessories for Your Setup
Select anti static mats made for your turntable platter. The rubber or cork surfaces remove charge buildup and prevent “crackling” noises by keeping discs slightly lifted off charged bases.
Anti static record sleeves continue neutralizing static even inside your shelves. Keeping spare accessories on hand means you’ll never be caught without what you need for clean, static-free playback.
When you upgrade accessories, update your cleaning routine notes. Jot down when sleeves or brushes were replaced and what changes you observed in your listening sessions.
Integrate Static Treatment Sprays and Solutions
Spray anti static solution onto a microfiber cloth, then wipe the vinyl using gentle, circular motions. Avoid spraying directly—overspray hits labels or gets trapped in grooves, causing unintended residue.
Use measured applications during routine cleanings, then listen for the telltale absence of pops and clicks. Note your process, so next time you update, you have a record of what worked.
Communicate with others who share your audio space: leave a note about the process for static sprays and which records benefit the most after application. Comparisons over time make a real difference in collection care.
Choose Advanced Cleaning Techniques for Long-Term Protection
Taking your anti static vinyl routine to the next level means adding specialized equipment, especially for large or valuable collections. These methods provide a deep clean and memorable listening for years to come.
Invest in vacuum record cleaning machines or ultrasonic baths for thorough cleanings each quarter or after finding used records. These devices recover details lost behind embedded dust and static, changing the sound of rare LPs instantly.
Vacuum and Ultrasonic Cleaning in Action
Use a vacuum cleaning machine to spin and suction debris from grooves. For heavily soiled or used records, ultrasonic cleaners break down sub-micron dirt, revealing layers of original sound not heard for years.
Collector tip: “I run every thrift store find through my vacuum cleaner before the first play. Amazing what shows up in the reservoir afterward.” This habit makes even bargain finds sparkle on a first listen.
Reserve vacuum and ultrasonic cleaning for monthly or quarterly sessions rather than daily maintenance. Mark deep cleaning days on your calendar, so favorite records always sound their best.
Track Your Collection’s Cleaning History
Keep a small log or spreadsheet with date, method, and products used for each cleaning session. This record helps identify persistent static or noise issues and refine your approach over time.
Track before-and-after sound notes for standout LPs. “White Album was harsh before ultrasonic—now clear, almost like new.” Use these entries to schedule future cleaning and upgrades across your entire collection.
Share records’ cleaning status with housemates or family members. Knowing which LPs have been freshly vacuumed reduces unnecessary touches and preserves their static-free qualities between sessions.
Unleashing the Full Potential of Your Vinyl: Final Thoughts
Effective anti static vinyl care weaves together smart cleaning routines, careful handling, and intelligent storage for truly remarkable playback. Each habit protects your collection’s value and unlocks better listening experiences with every rotation.
Applying these methods keeps your favorite records sounding crisp while reducing unwanted noise and wear. Clean, static-free records also maintain their visual appeal and market value, setting your collection apart from the rest.
Celebrate each listening session knowing your collection reflects care and expertise. Invite others to join your journey toward pristine sound, and continue exploring ways to refine anti static vinyl habits in your daily record life.