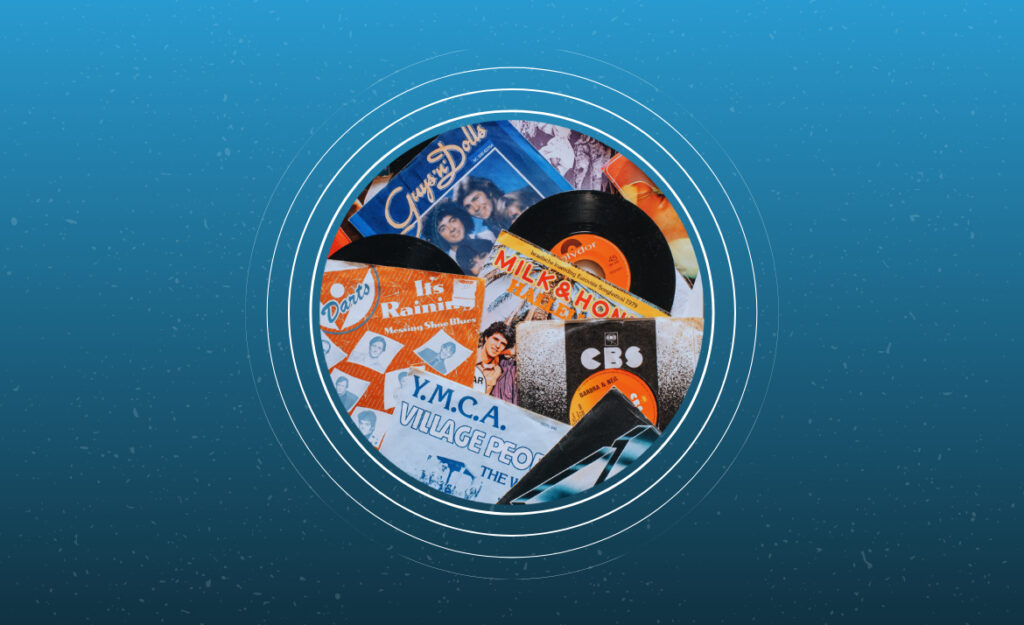
A well-loved vinyl record spins memories as clearly as it spins sound. When dust or fingerprints invade your grooves, playback and emotion both crackle. If you’re eager to hear each record exactly as intended, dj record cleaning can’t be an afterthought.
More than simple routine, effective cleaning habits affect every listening session for DJs and casual crate-diggers alike. The difference between a pristine beat and a fuzzy artifact is the discipline you bring to your collection. Each step, from handling to maintenance, leaves its mark.
By learning proven cleaning approaches and building smart routines, you protect tunes and extend the spirit of vinyl for years. Explore how small changes today can deliver richer, longer-lasting playback. Let’s make every drop and scratch count toward a crisp, classic experience.
Build Predictable Cleaning Habits for Every Spin
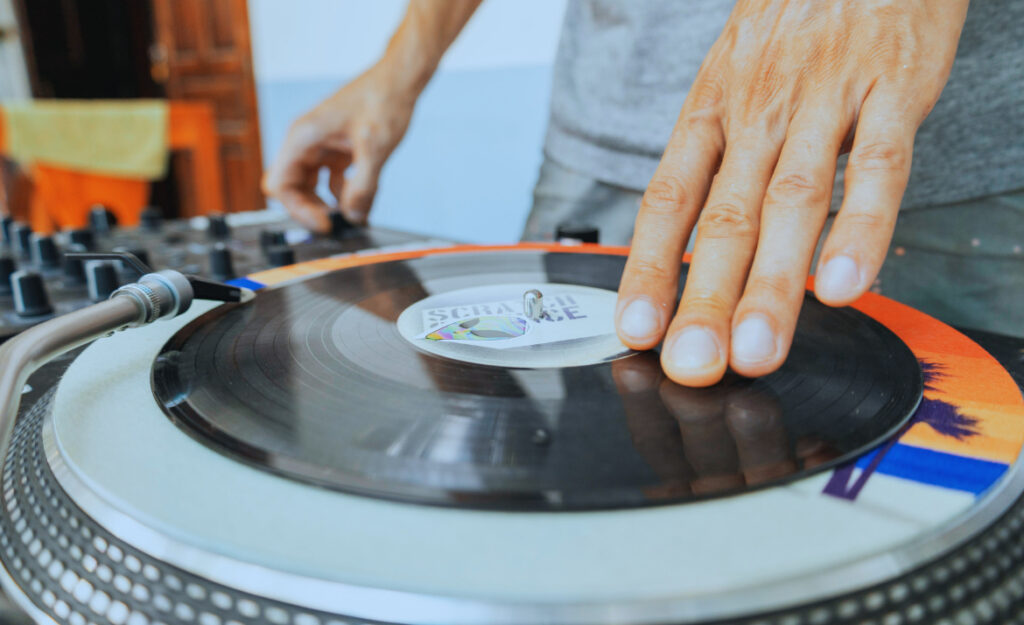
Before dropping the needle, decide on a set cleaning pattern. A consistent approach prevents buildup and keeps each session sounding sharp. Most DJs take a few extra seconds pre-play to check and address visible surface issues.
Whether at a club or your home studio, start with a visual scan. Hold the record by its edge or labeled center. Use reflected light to seek out smudges, fingerprints, or loose debris. This simple check sets the stage for effective cleaning.
Minimize Handling Errors: Adopt the “Edge and Label” Hold
Touching only the outer edge and the label protects grooves from skin oils and friction. When removing, place thumb and forefinger on the label and opposite edge. This reduces fingerprints that attract dust and degrade fidelity. Repeat this method every time you load or unload vinyl.
Consistent grip prevents both visible and microscopic contaminants. Say aloud, “Edges and label, never the grooves,” to reinforce muscle memory. Analogous to handling photographs by borders, this step shields delicate surfaces and teaches respect for media care.
After the record is returned to its sleeve, pause before removing the next. Wiping hands with a dry, lint-free cloth limits transfer of moisture and oil to the vinyl disc in your next interaction.
Pre-Clean Every Time: Dry Brush Before and After Playback
Set a carbon fiber brush near your turntable as a ritual accessory. Before playing a side, let the record spin in place while you gently sweep the surface in the direction of the grooves. This motion lifts loose dust that could otherwise fall into the stylus path.
Brush after playback too. Removing the static-attracted particles your stylus may have collected prevents redistributing debris on future plays. One slow, full rotation per side is enough, ensuring the brush doesn’t accumulate contaminants without you noticing.
If you use a felt mat, check that the brush isn’t simply pushing dust from the surface onto the platter. Keep your mat clean by periodically vacuuming or using a dedicated lint roller designed for audio gear.
| Step | Tool | Frequency | What to do next |
|---|---|---|---|
| Visual Inspection | Bright light | Before every play | Spot smudges and dust, choose cleaning method |
| Dry Brushing | Carbon fiber brush | Before/after each side | Remove loose particles, prevent stylus buildup |
| Deeper Clean | Record cleaning solution + pad | Monthly or as needed | Restore shine, reduce stubborn dirt and fingerprints |
| Sleeve Storage | Anti-static sleeves | After every use | Protect from future dust and static-related grime |
| Stylus Check | Magnifier or stylus brush | Weekly/as needed | Ensure proper contact, avoid dirt transfer to records |
Get Reliable Results with Wet Cleaning Methods
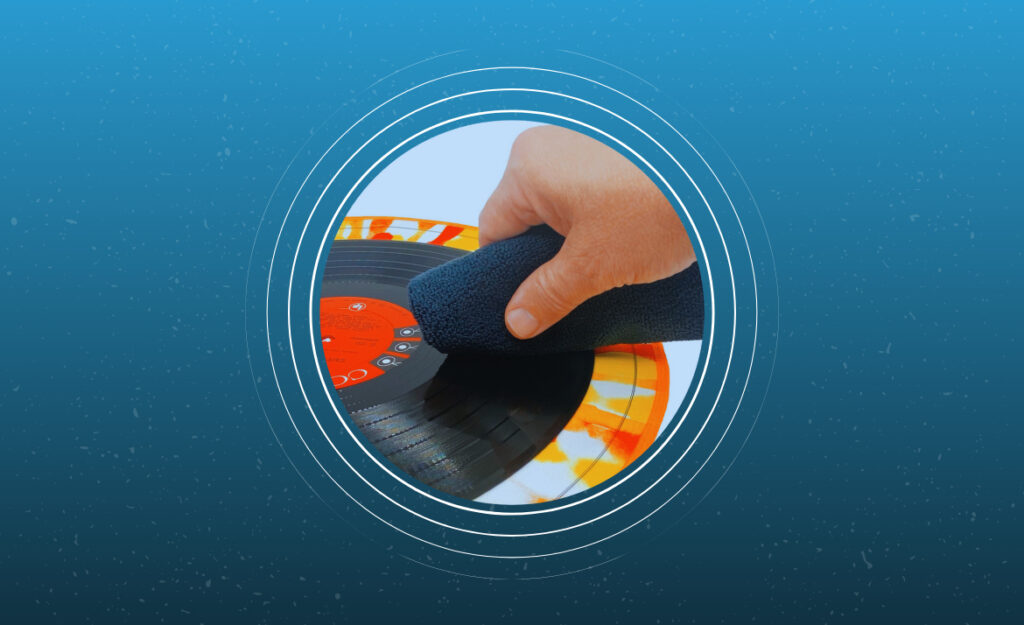
Where dry brushes leave off, wet cleaning takes over. This stage addresses deeper grime, old fingerprints, and oily residue that a brush cannot lift. DJs rely on this method when records sound dull despite regular surface maintenance.
Wet cleaning doesn’t have to be complex. Use a dedicated record-cleaning solution and an appropriate pad or microfiber cloth. Apply gently and always follow with a rinse if directed by your solution’s instructions – this routine clears residues and resets your vinyl for accurate playback.
Pick the Right Cleaning Fluid and Pad Combo
Combining the correct cleaning fluid with a non-abrasive applicator is key. Alcohol-free solutions protect record plasticizers from drying out. Microfiber pads reduce drag and avoid micro-scratches. For heavily soiled records, allow the solution to sit for 30 seconds, loosening stubborn dirt before gently wiping along the grooves.
- Choose alcohol-free solutions: Reduces risk of plasticizer damage and keeps vinyl flexible for longer playback life.
- Always use soft applicators: Prevents micro-abrasion and preserves sound quality in the music’s quiet passages.
- Avoid over-wetting the label: Prevents glue separation and preserves aesthetics, so always support the label’s edge while wiping.
- Gently buff in grooves’ direction: Follows the record’s natural path, reducing cross-contamination between tracks during cleaning.
- Dry thoroughly before return: Standing records vertically supports air-flow and prevents moisture spots inside inner sleeves.
After wet cleaning, leave records on a drying rack for at least 20 minutes to avoid trapping moisture, which can cause mildew or sleeve warping. This step is especially critical if you store records in a humid environment.
Spot Cleaning for Accidents and Stubborn Spots
If a visible ring or fingerprint persists after routine cleaning, use a small applicator like a cotton swab for spot detailing. Lightly dip and gently twist to avoid pushing residues deeper into the groove walls.
- Address sticky spots right away: Prevent sugar or soft drink spills from hardening and attracting additional particles with swift action.
- Work outwards from the blemish: Spreads dirt toward the edge, protecting inner tracks as you clean specific trouble spots.
- Blot excess: Use a lint-free cloth for excess fluid, always pat rather than rub to prevent streaking.
- Repeat gently for tough marks: Persistent spots require two passes, but never press hard or revisit more than twice per session.
- Check with a flashlight: Angled light after drying highlights any missed residue, giving you confidence before storage or play.
Spot cleaning is best reserved for rare mishaps, not daily maintenance. Addressing issues right after they occur keeps your cleaning routines efficient and less abrasive overall.
Store and Protect Vinyl to Prevent Dust and Static
Maintaining dj record cleaning doesn’t stop when your session ends. Proactive storage strategies keep dust and static from settling on your collection. Carefully chosen sleeves and correct shelving play a direct role in record lifespan and playback strength.
Adopt a rhythm: always file records vertically, return them to protective sleeves, and keep your storage area controlled for temperature and humidity. This routine simplifies future cleanup and cuts down on the need for deep cleaning cycles.
Choose Anti-Static Sleeves for Added Protection
Upgrading to anti-static inner sleeves shields records from micro-dust and electrostatic attraction, two hidden enemies of longevity. These sleeves create a barrier that reduces routine contamination, making every future dj record cleaning more effective.
Compare standard paper sleeves: they shed fibers and may scratch. Polyethylene-lined or rice paper sleeves present a softer alternative. When handling, shake the sleeve open gently before insertion to prevent accidental creasing that transfers to grooves.
Mark a spot in your crate or shelf for “needs cleaning” records. This allows you to separate and prioritize those vinyl pieces that may have been exposed to dust at an event or during a transport, streamlining your workflow.
Arrange Shelves Strategically for Easy Retrieval
Shelve records vertically—leaning or stacking may warp discs and degrade sound over time. Leave just enough space to slide each record out without scraping the cover. This step keeps jackets in top condition and leaves less room for ambient dust to settle inside the sleeves.
If you DJ in multiple locations, consider investing in a hard-sided carrying case with foam dividers. These sturdy cases protect records from impact and keep them upright, which reduces the risk of storage-related wear. Place a silica gel pack inside for extra moisture defense.
Rotate your collection’s position every few weeks. This ensures even air distribution, prevents compression on the sleeves, and reduces the “lean” that longer records can exert on each other, maintaining uniform surface tension across your set.
Set a Cleaning Schedule and Stick to It Without Fail
A calendar-based system ends procrastination. Mark your cleaning dates as you would a gig or studio session. Scheduling guarantees that dusty surprises won’t stack up and that every vinyl in your crate gets regular attention.
Log each cleaning in a simple notebook or use an app designed for record collectors. Tracking last-cleaned dates and specific issues keeps your dj record cleaning organized, and it makes it easier to catch repeats or problems before they grow.
Create a Routine That Fits Your Workflow
Begin each week by setting aside 15 minutes for a rapid inspection and quick dusting. Assign deeper cleanings to a dedicated day each month. This “maintenance Monday” approach mirrors what you might do for other creative equipment.
For busy stretches, designate a pre-gig or post-gig wipe-down. A quick scan for fingerprints or an accidental spill at the end of a night takes seconds and can prevent ingrained dirt from affecting future sessions or performances.
Reward yourself after completing a cleaning push—listen to a favorite track or add a new record to your wish-list. Positive reinforcement turns upkeep into a habit, keeping routines enjoyable instead of feeling like a chore.
Balance Manual and Machine-Cleaned Approaches
For large collections, a vacuum-based record cleaning machine can speed up deep cleans. Reserve hand-cleaning for rare, fragile, or high-value pieces where personalized care is required. Alternating methods scales efficiency across your whole library.
Remember, too, that even automatic machines need regular filter and brush replacement. Schedule these component swaps alongside your monthly cleaning checks to maintain gear and record health in parallel. A balanced approach keeps both the process and the product top-notch.
Never skip a session out of convenience. Consistency is what keeps both the sound and your personal connection to the music fresh and vivid, every spin.
Address Stylus Hygiene and Its Role in Clean Playback
Every clean record deserves a clean stylus. Neglecting stylus hygiene can redeposit grime onto recently cleaned discs, undoing your hard work and increasing playback distortion.
Keep a stylus brush or stylus-specific gel at your station. At the start and end of each DJ session, hold the tonearm steady and swipe the brush or pad gently from back to front—never side to side, which can dislodge the tip.
Monitor for Buildup and Swap Worn Needles Early
If your stylus picks up dust threads or stubborn grime, this points to insufficient cleaning or a need for a replacement. Examine the tip under a magnifier, and look for any fuzz, discoloration, or physical warping.
Sticking to a once-a-week cleaning schedule for the stylus supports both the needle and your dj record cleaning plans. When sound dulls or distortion appears, swap your stylus promptly rather than waiting “one more set.”
For extra care, rotate stylus choices between gig and home play. This distributes wear evenly and prevents overloading a single needle with both live and practice miles.
Keep Gear and Accessories Ready for Immediate Use
Store your stylus brush, gel pad, and magnifier in a dedicated box alongside cleaning solution and cloths. Keeping everything together improves workflow and encourages the habit of checking the needle every time you clean a record.
If you pack up or travel with your gear, always enclose the stylus guard and double-check it’s locked in place before transport. A single trip without proper protection can bend the stylus and limit the life of your records.
Write a quick note or checklist below your turntable—“Brush stylus—check record—select track”—as a visual nudge to anchor each routine. Simple reminders cement lifelong habits.
Organize Cleaning Supplies for an Efficient Workflow
Get more from every dj record cleaning session by arranging your tools for easy access and quick use. A tidy workspace minimizes spills, cross-contamination, and distractions during maintenance.
Dedicate a small basket or shallow tray near your turntable for brushes, pads, solution, and cloths. Place a labeled box for clean sleeves within arm’s reach. Store drying racks on a nearby shelf for seamless transitions from cleaning to airing out discs.
Rotate and Refresh Supplies Regularly
Replace cleaning pads and brushes every six months or after visible wear. Discard microfiber cloths that lose softness or accumulate stains, as these may transfer dirt or scratch vinyl surfaces rather than protect them.
Once a quarter, wipe down your workspace itself using cleaning solution compatible with both wood and plastic. Keeping the cleaning zone spotless prevents introducing new contaminants just as you’re working to remove old ones from your collection.
Take inventory twice a year and stock up on replacement cleaning fluid and sleeves, ordering ahead of key events or set dates when your records face the most use. Staying prepared ensures your cleaning routines never stall from lack of supplies.
Develop a Sustainable Routine That Matches Your Lifestyle
Habits stick better when they fit your unique music routine. Whether spinning club nights or enjoying marathon home-listening, your dj record cleaning system should adapt around frequency, volume, and environmental factors.
Include a minimal, weekly “sweep” for lightly used collections, and expand to monthly deep-cleans during dustier seasons or hectic gig streaks. Let your habits scale up or down, reflecting changes in listening schedule without missing crucial maintenance milestones.
Assign a backup person if you share your setup, posting printed cleaning rules for quick reference. If you ever lend records to friends or host collaborative sessions, brief your guests on handling and cleaning expectations first. This preserves both sound and camaraderie.
Keep Vinyl Vivid—Make Every Cleaning Count
Consistent dj record cleaning transforms listening from routine to ritual. Each regular habit—proper handling, scheduled maintenance, and stylus care—locks in the deep, memorable sound that vinyl devotees cherish. Small actions blend into years of flawless playback.
Sound quality and emotional connection both depend on proactive care. Clean grooves honor the music and protect your investments. Maintaining disciplined routines deepens your appreciation for every detail, making both the collection and experience richer over time.
Start with a single change or improve your whole workflow. The energy you invest in maintenance echoes with every crisp beat, each smooth fade, and every time a classic cut comes alive—preserved for the next spin, and the next generation.