If you’ve ever watched dust settle on your favorite vinyl, you know the small frustrations it creates. Midway through a track, crackles break the mood. That’s exactly where record cleaning machines step in—addressing a need that goes well beyond sound quality alone.
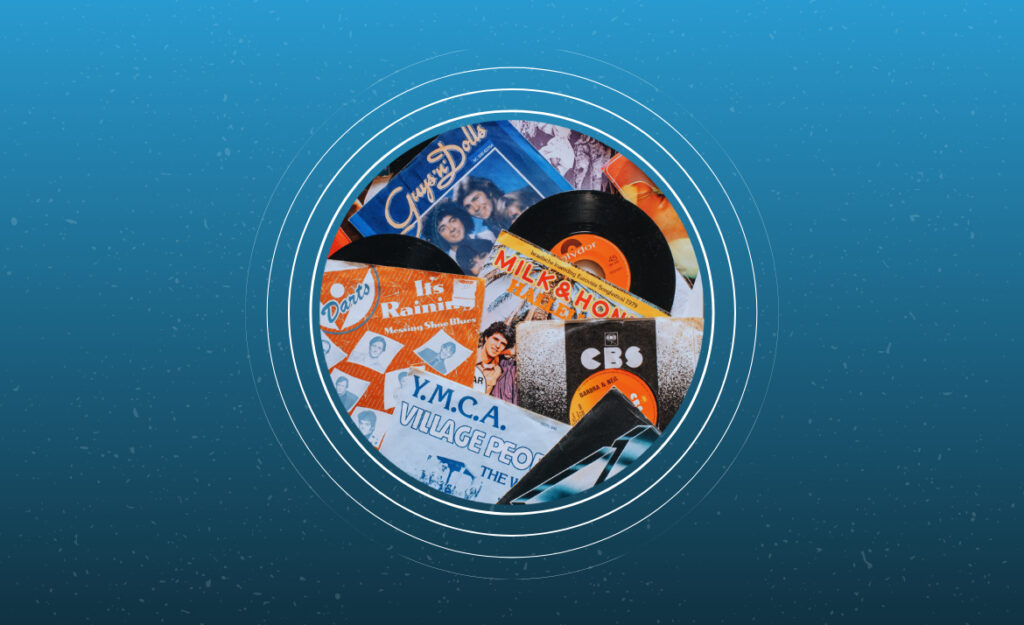
Vinyl culture celebrates warm, tangible sound and sleeve art, but even the most delicate handling can’t prevent build-up over time. Dirt tampers with audio and risks permanent groove damage. Cleaning machines act as daily armor, preserving your collection for years.
This guide unpacks which cleaning machines fit your space, budget, and habits. Expect real-life stories, step-by-step lists, and hands-on comparisons, helping you select an option that complements your unique collection style.
Find the Right Machine for Your Collection Style and Budget
You’ll choose smarter when the cleaning approach matches how you handle your vinyl—and how much you want to invest. One size rarely fits all when it comes to record cleaning machines.
Start by thinking in real terms: do you spin records daily or just on weekends? The answer shapes what features you’ll actually use, and what’s just extra expense.
Choosing Tools for a Personal Vinyl Story
Josh spends Sunday afternoons with indie LPs and treats each record like a keepsake. He says, “If it takes me five minutes, but preserves this album, I call it time well spent.” Hand-cranked cleaning machines with a soft brush suit listeners who value process as much as result.
Angela, on the other hand, comes home and puts a stack of thrift-shop finds on repeat. She keeps a compact ultrasonic cleaner by her entryway. “Drop it in, do something else, and come back to a record that feels new,” she says.
Personal routines transform a cleaning device from clutter into a regular ritual. Consider your day-to-day and the stories behind your records before buying.
Selecting Based on Collection Size
A growing collection asks for high-efficiency. If you’ve got more than 100 records and host vinyl nights, semi-automatic machines may save you from cleaning fatigue. Machines with automated drying help ensure you don’t skip steps under time pressure.
For a DJ shuffling 12″ singles at a gig, portability matters most. Lightweight, suitcase-style machines handle a night out, while larger, heavy-duty models fit a home studio permanently.
The way you stack, swap, and sort your vinyl tells you exactly which cleaner fits current and future needs.
| Model Type | Average Cost | Best For | Pro Tip |
|---|---|---|---|
| Manual Brush Kits | $20–$60 | Small collections | Pair with microfiber cloth for double-duty drying |
| Basic Spin Machines | $60–$150 | First-time collectors | Use distilled water to prevent residue |
| Vacuum Machines | $200–$700 | Serious audiophiles | Replace vacuum pads every 3 months |
| Ultrasonic Cleaners | $400–$1500 | Large or rare collections | Check detergent compatibility before adding |
| Professional Combo Units | $1500+ | Shops and archivists | Schedule regular maintenance checks |
Maintenance Routines That Keep Grooves Alive Year After Year
Daily routines directly extend your vinyl’s lifespan through surprisingly simple, repeatable actions. A record cleaning machine belongs in that lineup, preventing the slow buildup of static and grime that can shorten your vinyl’s life.
The best routines are realistic and easy to build into your schedule. Set up your gear next to your turntable or within arm’s reach. That way, “I’ll clean one quickly while the next track queues up.”
Routine Equipment Upkeep Simplified
Wipe brushes after each use. Empty water trays and store solution in a cool spot. Make space for a drying rack as part of the cleaning station. When pads or cloths look worn, swap them out. “Don’t skip detailing your equipment,” as a seasoned collector recommends.
- Clean brushes with mild detergent to avoid residue; this keeps bristles soft and ready for next use, preventing scratches during contact.
- Change water after each session so dirt doesn’t transfer between albums; this practice reduces permanent surface noise and unexpected pops.
- Use lint-free towels for drying, laying records flat for five minutes; this avoids warping or creating water spots that affect playback fidelity.
- Inspect vacuum nozzles quarterly, removing any trapped fibers or dust; a blocked nozzle leads to streaks on the next batch of LPs.
- Store solutions away from direct light to prevent chemical changes that might harm vinyl’s delicate grooves during cleaning cycles.
Create a habit checklist: clean brushes weekly, change solution after five discs cleaned, and check moving parts monthly.
Cleaning Fluids and What They Actually Do
Many brands sell dedicated cleaning fluids. Most contain distilled water, isopropyl alcohol, and surfactants. Store-bought solutions are formulated to leave minimal residue, but mix-your-own recipes can be effective for non-collectible records. Always test on an old disc first.
- Apply solution with a soft applicator, never drench the label; this protects the label from fading or peeling caused by liquid exposure.
- Let fluid sit for 30 seconds before brushing; this loosens dirt and allows easier removal without repeated passes across the grooves.
- Use a circular motion when cleaning grooves, matching the record’s original cutting path to ensure both surface and embedded dirt lift out.
- Flush excess fluid with distilled water; leaving it to dry can create new deposits, putting sound at risk of muffled sections or static.
- Store homemade solutions in shaded, air-tight bottles; sunlight or air can cause breakdown, turning cleaning efforts into a hazard for records.
For rare or precious albums, always opt for pre-tested, professional-grade fluid to avoid unwanted chemical reactions with shellac or colored vinyl.
Budget-friendly Upgrades That Deliver Noticeable Results
Swapping to a new cleaning routine starts with a single addition. A better brush, a high-efficiency drying mat, or a strong hand-pump system can all boost results for less than most anticipate.
Adding a basic record cleaning machine alongside your favorite brush transforms a once-over cleaning into a gentle, thorough process. This hybrid approach works for any record lover unwilling to compromise on either convenience or quality.
Spin-Clean Style Solutions for Quick Wins
Spin machines always draw curiosity. “You just twirl it yourself?” people ask, eyeing the bright plastic basin. The answer is yes—yet the results are more rewarding than the low price suggests.
With two felt rollers scrubbing gently while you rotate the record manually, the process becomes meditative. Hands stay clean. You control pressure and duration—”A few turns, that’s all,” explains one user, gesturing to his copy of Kind of Blue.
If you ever cleaned a car windshield with circular wipes to get a clear, streak-free finish, this is its analog equivalent. Try three spins per side, rinse, and enjoy improved sound fidelity.
Turning Brushes and Cloths Into Reliable Daily Tools
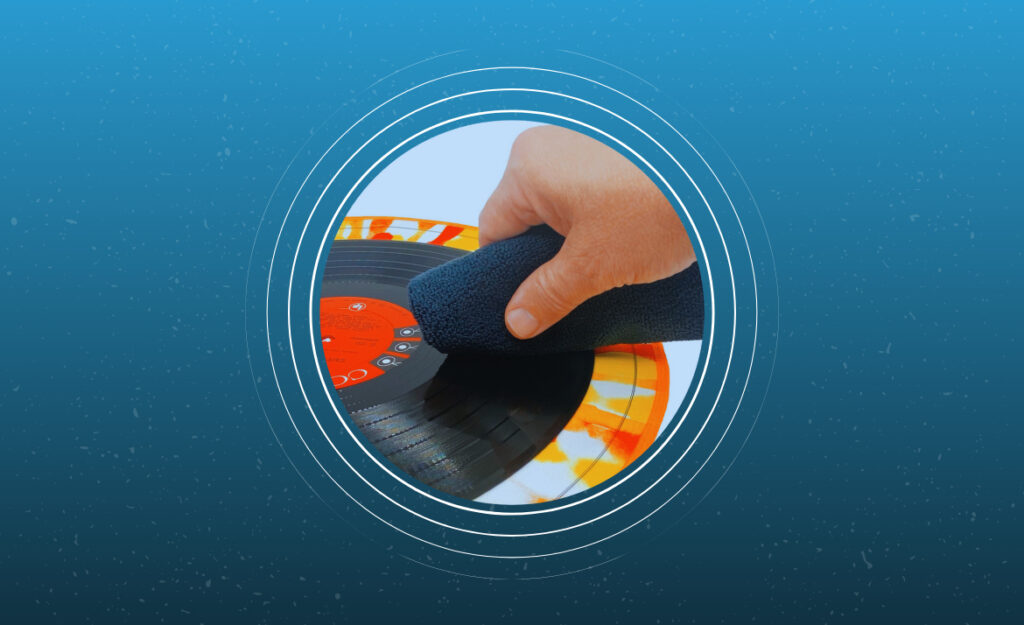
A $20 carbon-fiber brush wears the main defense badge for everyday picking up dust before and after each play. “Don’t push down—just let the bristles glide across,” says a longtime collector, demonstrating gentle technique.
Microfiber cloths follow up as a fast drying option. Always fold into quarters for a thicker pass and swap cloths weekly, just like you would a kitchen towel. Two passes—one dry, one damp—leave surfaces smooth with zero static.
Pair the brush and cloth combo for new finds or after a long hiatus between listening sessions. Even budget-friendly routines can make a vintage disc sound like new.
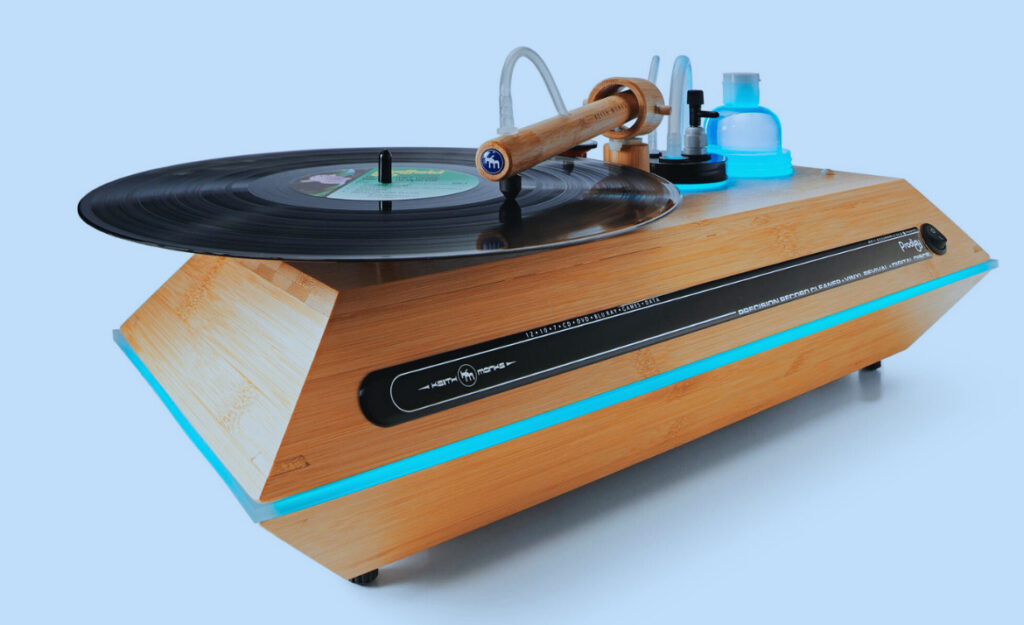
Premium Machines for Archive-level Results at Home
Investing in a high-end record cleaning machine is the clearest route to maintaining archival quality. The stakes rise for those whose libraries contain rare pressings, colored vinyl, or picture discs.
Modern ultrasonic systems ask just a little setup: place the record in a bath, set a timer, and walk away. A sharp pop says cleaning’s done—and so is the labor you’d have put in with brushes and cloths.
Vacuums Take Care of Stubborn Grime
Vacuum machines generate instant feedback. You see dirt and debris whisked away in real time, and hear improved sound clarity on tracks that once felt hopelessly muffled. Don’t force the nozzle or speed the pass; slow, even movement delivers cleaner grooves without risk.
Set up a vacuum station away from dusty shelves. “Every air current adds risk,” remarks an experienced archivist, always storing his machine in a closed cabinet between uses. You’ll also want to use disposable pads, never letting more than ten records pass before swapping.
The sound of the vacuum might be sudden, but that clarity at needle-drop is the payoff—a detail-focused restoration achieved one pass at a time.
Ultrasonic Machines Reach Microscopic Particles
Where brushes can’t reach, ultrasonic machines excel. Microscopic cavitation bubbles remove grease, fingerprints, even invisible particles most vinyl owners never see. Set the timer—usually ten minutes—and watch a film of dirt rise and dissipate.
These units thrive in collections with mixed vintage and modern discs. Their power comes from consistency, so commit to a cleaning schedule: “Every ten records in, every ten out,” says a longtime user, making the task an automatic part of shelving albums.
Avoid overcrowding the cleaning tank. Always leave space between LPs to prevent scratches, and use only recommended solution. The change in playback afterwards makes you wonder how you listened before ultrasonic cleaning.
Building Lifelong Habits for Collection Health
Adopting short, regular routines locks quality into every listening session. Instead of big, daunting cleans, integrate cleaning into the setup and breakdown of your fits—just like checking your cartridge or dust cover.
Pair reminders with habits you already perform: after placing a new album in its sleeve, give it a fast brush; setting up a party set, pop each record into the cleaner. Consistency, not perfection, delivers the longest-term benefit.
Protecting Labels and Sleeves From Water Damage
One overlooked step involves safeguarding labels and jackets. Use cleaning machines with label guards, and dry freshly washed records before returning them to paper sleeves. An ounce of attention here prevents fading, bubbling, or color bleed later.
Try lining sleeves with inner poly protectors. Slide records in with both hands, eyes level with the jacket, so the vinyl never nicks the edges. Each process, like an assembly line, preserves value and beauty over decades.
Every time you notice glue separating or labels dulling, it’s time to tweak your drying and storage sequence. This simple attention reads as care to everyone who borrows or inherits your collection.
Storing Clean Records Pays Dividends
Put clean records straight back in their sleeves, away from direct sunlight and extreme heat. Stacking vertically on sturdy shelves reduces warping. Stick labels on shelves, not on jackets, to preserve original visuals and resale value.
Invest in antistatic inner sleeves. Pull from the center, never the edge, to keep fingerprints off. Place albums in poly-lined outers for maximum dust resistance. Store favorites up front for easier rotations and fewer accidental scratches.
When guests browse, remind them to handle by edges only. Fast retouching after a listening party ensures surfaces stay pristine for the next spin without delay or stress.
Strengthen Your Listening Experience With the Right Cleaning Routine
Choosing the right record cleaning machine and routine means fewer pops, longer-lasting records, and a library that always shines. Each method offers pros for your unique budget and daily rhythm.
Your collection reflects personal style and history. Every cleaned record connects past sessions to the next. Even minor upgrades—from brushes to ultrasonic tanks—stack up to lasting sound quality and pride in every play.
Trusting your cleaning habits today guarantees better sound tomorrow. Stay curious, seek out new techniques, and let preserving each disc become part of your vinyl journey’s satisfaction.