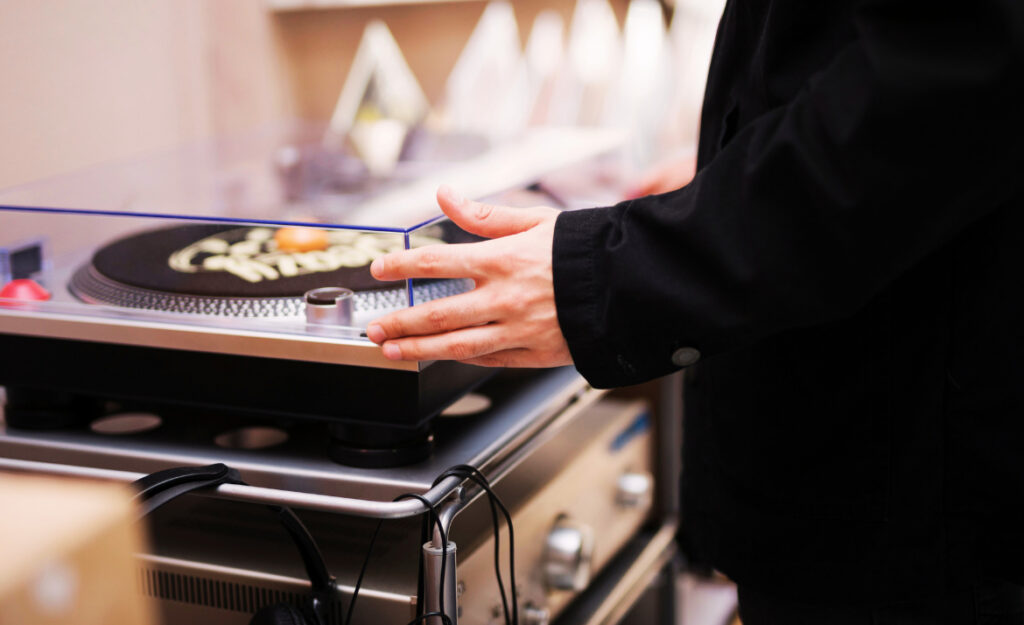
You’ve probably wiped down your setup and still spotted new dust on your vinyl records by evening. Even a well-fitted turntable dust cover doesn’t replace a proactive care routine that makes every listening session smoother.
Over time, dust and grime slip in, clouding the surface of that clear acrylic dust cover and lifting fine particles onto your favorite records. Savvy listeners notice: regular attention keeps both your turntable dust cover and collection free from static buildup and debris.
If you want clear, crisp sound and peace of mind when you drop the needle, this guide shares fresh, step-by-step advice to banish dust daily. Let’s enjoy music—and keep every groove pristine.
Routine Cleaning Habits Guarantee Fresh Covers
Spot-cleaning your turntable dust cover every few days makes a visible difference in dust levels on records and gear. Start with a gentle approach and steady hands to avoid micro-scratches.
Dust removal isn’t a one-time job—a quick routine means less buildup and a more attractive listening space. Every clean swipe is an investment in your vinyl experience and sound clarity.
Choosing Safe Tools for Effective Maintenance
Go for a soft microfiber cloth and avoid any rough sponges or paper towels during your cleaning routine. These soft textures trap particles and reduce chances of acrylic swirls or clouding.
Skip harsh sprays. Instead, dampen the cloth slightly with water or a gentle cleaning solution meant for plastics. The key is minimal moisture and steady, consistent strokes from back to front.
If static energy clings to dust, look for antistatic cloths or a specifically designed vinyl record brush. Finish by letting the cover stand open for a few moments to air-dry, leaving no streaks behind.
Protecting Against Static and Overzealous Handling
Static electricity can attract dust from several feet away, especially in drier months. Keep a humidifier in the listening room to lower static’s grip on covers and discs alike.
Always lift the cover with two hands at the edges, not from the front or center. This lowers strain on hinges and keeps fingerprints off the main field, which can be tough to remove later.
For persistent static, gently run an antistatic brush along the outside and inside of the dust cover before and after cleaning. This adds a preventive barrier that keeps airborne fuzz at bay.
| Tool or Product | Best Use Case | Frequency | Takeaway Action |
|---|---|---|---|
| Microfiber Cloth | Routine dust removal | Every 2 days | Wipe in gentle, straight lines |
| Plastic Cleaner Spray | Deep cleaning acrylic | Bi-weekly | Apply, then buff with microfiber |
| Antistatic Brush | Remove static & fine dust | Weekly | Brush all surfaces lightly |
| Water & Mild Soap | Spot removal | Monthly | Mix tiny drop, rinse fully after |
| Humidifier | Reduce static in air | Continuous use | Keep room at 40-50% RH |
Smart Placement Extends Cover Quality
Positioning your turntable dust cover away from open windows or high-traffic zones keeps it cleaner for longer. Use this strategy as an extra shield against floating particles and sudden bumps.
Your gear stays dust-free longer when not under a direct air vent or within reach of pets and children. Spending two minutes on setup can mean hours saved from future cleaning.
Check the Listening Room Environment
Assess the air currents and main walkways in your home. If you spot dust dancing in sunlight, move your turntable setup to a spot with less airflow or fewer passersby to minimize exposure.
- Move the turntable away from open windows—prevents pollen and dust clouds from settling overnight.
- Adjust shelves to be shoulder-height or higher—reduces incidental touch and errant elbow grease while dusting other areas.
- Do not set plants directly above—soil and leaves shed particles that build up fast on acrylic surfaces.
- Keep pets clear—fur can be surprisingly persistent, so try a room with low pet traffic for serious listening sessions.
- Use a slipmat or record sleeve at all times—keeps stray debris off both your vinyl and dust cover, protecting both against abrasion.
After each listening session, check the cover for fingerprints or new flecks, then follow up with a soft cloth for quick correction. This maintains clarity and avoids patchy smudges that catch the light.
Regular Rearrangement and Tiny Adjustments
Every so often, change your turntable’s exact placement by a few inches to compare which area gathers less dust or is shielded from direct traffic. Even a small change can cut debris dramatically.
- Inspect shelf stability before moving—an unsteady surface means more vibrations and airborne dust.
- Test nearby curtains or blinds—fabric fibers in direct airflow create micro-flurries of dust, so consider switching to shades or window films.
- Keep electronics spaced apart—heat from amps or receivers can push dust around; a few inches of air means less constant settling on your gear.
- Rotate decorative objects—not everything needs to crowd the turntable table; minimalist setups make for easier, thorough cleaning in one go.
- Try a clear divider panel—portable acrylic dividers can stop kitchen or hallway air from blowing directly onto your listening spot, with the added benefit of shielding records, too.
Making minor changes based on observation saves time and keeps your turntable dust cover and vinyl library cleaner all week long.
Proper Storage Lowers Debris Risks
Storing your turntable and dust cover correctly between sessions means you avoid surprise dust showers and lingering fingerprints. Organized shelves or cabinets can be your secret weapon.
Instead of just covering up, make a habit of gentle placement—and don’t stack anything on top, no matter how short your session break. This protects the acrylic from long-term pressure marks.
Using Record Storage Techniques to Your Advantage
Group your records upright in sturdy crates or dedicated shelves near your turntable. This keeps everything together and reduces the chance of knocking dust onto the dust cover while flipping records.
Slip each vinyl back into its inner and outer sleeves before returning it to storage. Every step cuts down on residual particles and static, especially when cleaning up after friends use your setup.
If you use a separate dust cover stand, place it on a non-slip mat when off the turntable. This simple move prevents rolling or sudden contact with tabletop grit, extending its pristine finish for months.
Scenario: Quick Cleanup After Group Listening
Your friends just finished flipping through records. Before they leave, pick up outer sleeves and dust any stray fingerprints or smudges on the dust cover immediately. That way, the cover stays streak-free for the next solo session.
Have everyone put their records back in order and store loose stylus brushes out of the way. Encourage wiping off the cover before anyone leaves the room for a consistent, effortless routine.
Taking thirty seconds for this post-session cleanup means your dust cover always greets you with a fresh surface, not new distractions or mystery marks during your next listening hour.
Easily Address Scratches and Clouding
If scratches or cloudiness develop on your turntable dust cover, treating them swiftly can salvage clarity and discourage grime from settling into gouges. Early attention lets you keep your gear looking sharp without drastic replacements.
Start with specialty plastic polish and a soft pad for best results. Always use light pressure in straight lines, never with circular motions, to avoid deeper haze or widening marks on the surface.
Use Dedicated Materials, Not Improvised Fixes
Pick polish labeled for acrylic or polycarbonate. Neighborhood hardware stores offer gentle abrasives specifically for hi-fi and optical gear. Don’t use household glass cleaners, as ammonia can fog clear plastic over time.
For shallow marks, gently buff the area with the included pad. Pay attention to resistance—if the cloth drags or bunches, switch immediately to a clean side and examine results under bright light to avoid over-correction.
For deeper scratches, rely on step-sequence products with both a scratch remover and a separate finishing compound. If unsure, always test on an inconspicuous edge before committing to the main surface of your dust cover.
Prevention Outweighs Repair Efforts
The lightest touch during regular cleaning prevents future headaches. Teach everyone who uses your gear the “two-finger edge lift” and keep repair materials nearby to encourage swift response, no matter who notices the issue.
Some listeners store an extra microfiber pad in their setup—they script aloud, “If you see a mark, buff it gently as soon as you spot it.” Making repair tools part of the landscape invites action instead of delay.
Always finish with a clean, dry wipe and check surface gloss in multiple angles. If you maintain vigilance, your turntable dust cover can stay vibrant for years of effortless listening pleasure.
Dust-Resistant Habits for Shared Spaces
Shared listening environments present extra challenges for keeping a turntable dust cover spotless. With more hands and feet in the area, dirt and dust can multiply quickly if each user isn’t trained in basic care tactics.
Post clear guidelines on top of the record console to keep everyone on the same page. A posted “wipe before you walk away” reminder normalizes cleanup as a group routine, not a solo chore for the primary owner.
Integrate Easy Habits Into Every Session
Keep a cleaning kit in a visible spot atop the record shelf. Include antistatic cloths, gentle spray, and a small brush, so anyone can refresh the dust cover or stylus at any time—no searching or stalling needed.
Set a clear expectation using a script: “Each time you put a record away, give the cover a quick wipe.” This links cleaning to natural transitions, so upkeep becomes automatic rather than burdensome.
Celebrate when someone else takes the cleaning initiative. Reinforce by saying, “Thanks for keeping it sharp—makes a difference!” to encourage self-policing in communal setups. Team buy-in keeps dust (and resentment) under control.
Turn Cleaning Into a Communal Habit
Organize brief, monthly “cleanup jams” where everyone tidies the setup. Group attention makes dust removal fun and removes a sense of obligation from any single fan or regular guest.
Schedule these events before a listening party. Play a favorite track or record that everyone enjoys, so the session ends on a positive note. This way, cleaning and music become linked rituals for everyone to anticipate.
Encourage friendly competition: the cleanest dust cover earns prime queuing privileges at the next party. People respond better when habits are indirectly rewarded, not enforced solely by rules.
Care Checklist That Works All Year
Following a concrete set of care rules across every season delivers consistent results—your turntable dust cover stays clearer, and your records remain dust-free, no matter the climate or foot traffic.
Set reminders to revisit the full routine every three months. Taking stock of ongoing needs, especially after holidays or gatherings, helps catch small issues before they escalate into visible buildup or permanent marks.
- Dust your cover with a damp microfiber cloth every 2–3 days. The frequency drops invisible debris that static may attract between deeper cleanings.
- Inspect for scratches under bright light monthly. Address any lines immediately with a plastic polish recommended for delicate acrylic or polycarbonate surfaces.
- Store unused records in both inner and outer sleeves. Fewer naked discs nearby cut incidental dust transfer to the dust cover.
- Adjust nearby air vents during winter. Cooler, dry air increases static; redirecting airflow away from your setup can halve visible dust in a week.
- Encourage guests to wipe down gear before and after use. Build this into social routines for a dust-averse listening environment, every day and night.
This checklist, when followed regularly, ensures your setup stays in performance shape and makes caring for your vinyl library nearly automatic.


