There’s a certain pride in hearing that satisfying pop as a favorite record spins—until unwanted crackles interrupt the listening. For vinyl lovers, investing in quality vinyl cleaning accessories keeps those moments pristine and immersive without fail.
Clean records mean more than just surface shine. They preserve sound quality, protect turntable needles, and extend the lifespan of each LP. Dust and oils degrade audio and value over time, making maintenance a collector’s quiet superpower.
Dive into these expert-vetted essentials to find exactly what you need for a thorough record care routine, from daily dusting habits to deep grooves cleaning and storage strategies you’ll use day in and day out.
Essentials for Daily Record Maintenance That Prevent Permanent Damage
Implementing daily habits with the right vinyl cleaning accessories ensures every record maintains clarity and longevity. Regular routines ward off buildup that can otherwise mar your collection’s most cherished tracks.
Think of record care like brushing your teeth; daily attention makes big problems avoidable. A few minutes with fundamental tools means less time troubleshooting expensive repairs later.
Choosing a Gentle Brush for Surface Dust
Always reach for a carbon fiber brush before and after playing an LP. Sweep quickly yet methodically around the spinning surface, ensuring bristles contact the grooves fully. Picture a painter’s gentle hand—light pressure keeps scratches away.
This technique removes static-attracting dust without pushing it deeper. Hold the brush flat, glide from inner to outer rim, and tap excess particles off after each use for best results.
Consistency here not only protects your stylus, but also prevents debris from impacting playback. Applying this exact sequence before every session becomes second nature in a thriving vinyl habit.
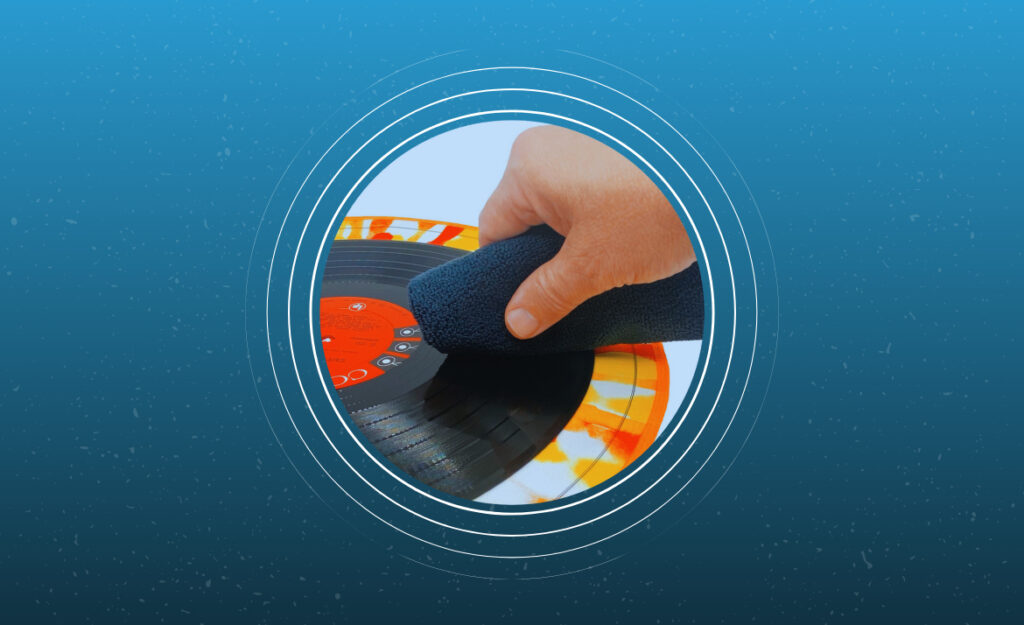
When and Why to Use an Anti-Static Cloth
An anti-static cloth works like a shield. After brushing, grasp the LP by the edges and lightly wipe the whole surface. Move in a gentle circular motion, never scrubbing or applying force.
This step catches what brushes leave behind and neutralizes clingy static. If sleeves tend to produce pops or your hair lifts when handling records, you’re seeing static in action.
A collector might say, “I won’t play anything before a quick cloth wipe.” That mindset helps stop static pops and keeps dust from resettling. It’s easy—just 10 seconds per album.
| Accessory | Best Use | Care Instructions | Quick Tip |
|---|---|---|---|
| Carbon Fiber Brush | Daily dust removal | Tap clean after use | Move with grooves, not against |
| Anti-static Cloth | Neutralize surface static | Hand wash occasionally | Avoid using with chemicals |
| Stylus Brush | Clean needle tips | Replace yearly | Always brush back-to-front |
| Inner Sleeves | Protect between plays | Replace if wrinkled | Use polylined for added static control |
| Outer Sleeves | Shield record jackets | Wipe with dry cloth | Opt for crystal-clear for visibility |
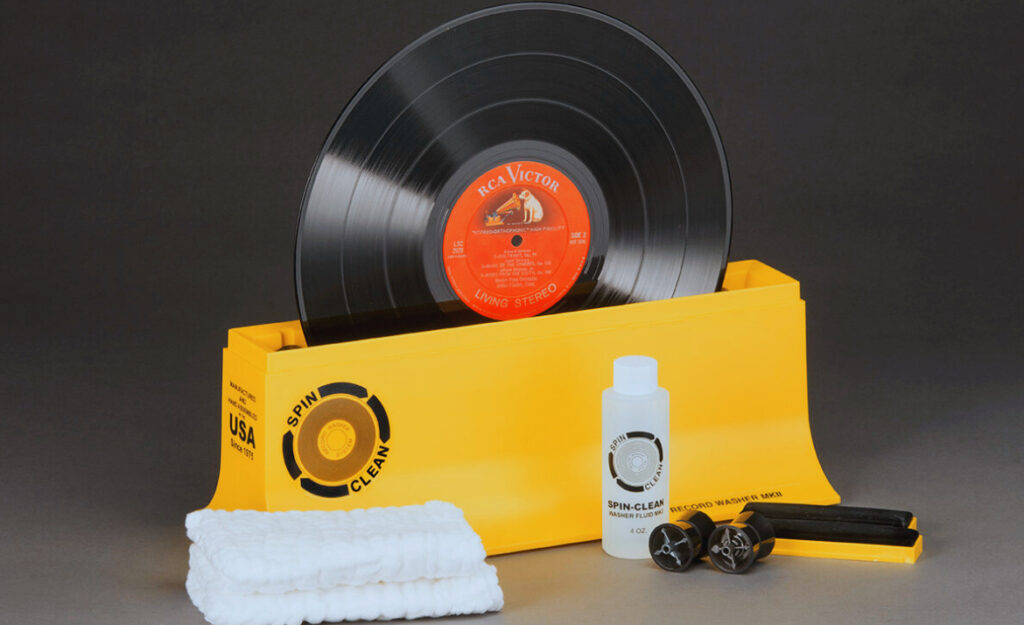
Wet Cleaning Solutions and Deep Cleaning: Restoring Audio Fidelity
When everyday brushing isn’t enough, wet cleaning solutions offer a deeper cleanse. They dig into the grooves, lifting stubborn grime that muffles sound, revealing details you may have missed before.
Just like washing a car to remove road salt in winter, deep cleaning helps undo invisible but damaging residue on older or secondhand vinyl. Results are tangible: cleaner treble, tighter bass, and fewer crackles on playback.
Safe Wet Cleaning Agents and Application Methods
Choose specially formulated vinyl cleaning solutions—never household cleaners, which can warp or dull the record. Pour a few drops on a microfiber pad or an approved applicator, then gently work in a clockwise motion.
If unsure how much pressure to use, imagine pressing lightly enough not to wrinkle a dollar bill. Rinse with purified water and let the record air dry upright before play to avoid water spots or residue.
Collectors who’ve revived garage sale finds will appreciate how transformative this step feels. One systematic deep clean restores records that seemed destined for the discard pile—save old favorites with this approach.
- Always use distilled or purified water to mix with vinyl-safe agents, ensuring no minerals or contaminants are left behind after drying for truly spotless results.
- Work on one side of the record at a time to prevent accidental drops or spills, making the cleaning process smoother and less risky for vintage or valuable LPs.
- Dry with lint-free microfiber cloths to prevent new particles from clinging to wet surfaces, avoiding the cycle of cleaning one issue only to introduce another.
- Store records upright and separate while drying so both air and gravity do their work, allowing water to drip away from labels and preventing warping or glued-on debris.
- Always read the label on store-bought agents. Even reputable brands have distinct formulas; ensure you’re picking products designed solely for vinyl to maximize care and audio quality.
By deep cleaning records every few months, or after picking up used vinyl, you noticeably enhance listening quality. This habit also makes it easier for daily maintenance brushes to keep things cleaner between sessions.
Drying Techniques That Prevent Water Damage
After cleaning, stand records vertically in a dish rack or a dedicated drying stand. Avoid lying them flat, which traps moisture beneath and risks potential warping or mildew, especially with older labels and paper sleeves.
- Swap worn-out microfiber cloths with new ones every six months to retain their softness and avoid scratching.
- Rotate records every five minutes while drying to ensure even exposure to air.
- Pat labels dry gently rather than rubbing to prevent smudging ink or tearing.
- Keep cleaning areas clear of dust by wiping nearby surfaces before starting any wet cleaning routine.
- Store drying racks away from heat sources like radiators or direct sunlight to prevent premature warping during the drying process.
Cultivating careful drying habits is part of a pro collector’s workflow—one that ensures hard work pays off every time the needle drops.
Protecting the Stylus: Needle Care Accessories for Consistent Playback
Clean records deserve an equally clean needle. The stylus, your collection’s most delicate component, collects micro-dust as it glides, affecting sound and wearing both itself and your vinyl unevenly over time.
Stylus maintenance with the proper accessories maintains clear highs and rumble-free bass. Keeping the needle healthy means your vinyl investment pays off with authentic sound at every rotation.
Correct Use of Stylus Brushes and Cleaning Gels
Use a stylus brush specifically designed for this task. Hold it steady, brushing gently from the cartridge back toward the tip and never side to side. This prevents knocking the diamond tip loose.
For sticky debris, try a cleaning gel pad. Lower the stylus into the gel and lift it away without dragging. The gel traps micro-particles that bristles struggle to reach, leaving the needle free and clear.
Seasoned collectors keep both tools near their setup, using the brush weekly and the gel monthly. With this approach, there’s less chance “fuzzies” sneak into playback or risk stylus damage mid-session.
Knowing When to Replace Stylus Accessories
Replace stylus brushes annually or sooner if you notice bent bristles. Cleaning gels last longer but lose effectiveness when they become cloudy or stop picking up visible particles even after pressing.
Watch for any drag or resistance during cleaning, as this signals a tool past its prime. Keep extras on hand for uninterrupted care. This simple readiness rule ensures your stylus remains dependable between plays.
A collector might say, “I check my brush every few months under a lamp—if bristles look splayed or dirty even after washing, I invest in a fresh replacement.” Staying attentive pays real dividends in sound quality.
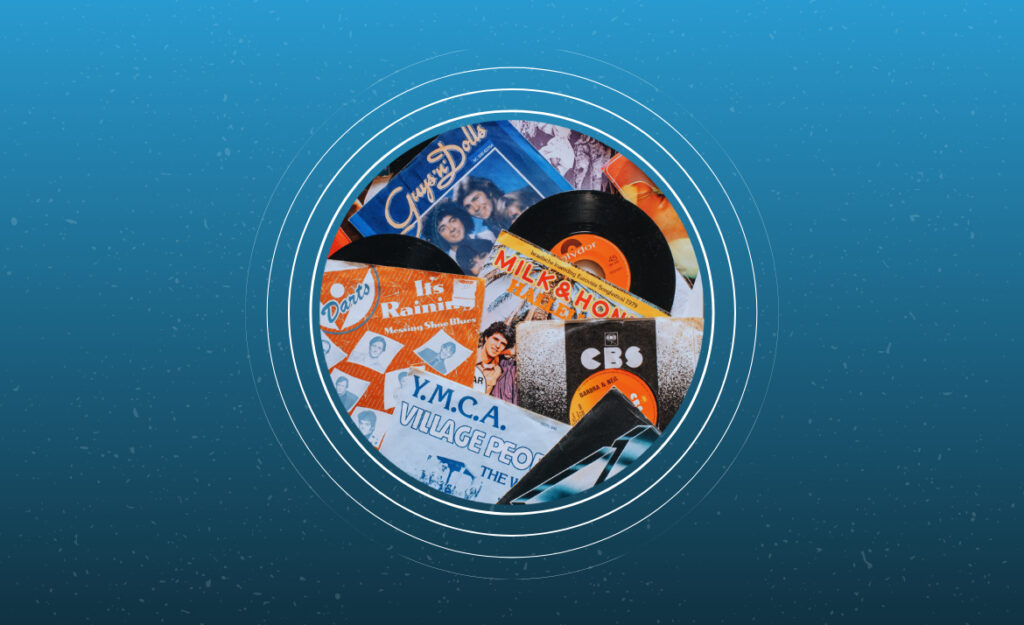
Storage Accessories That Safeguard Your Collection From Hidden Risks
Once records are clean, treat safe storage as an active defense against dust, static, and accidental impact. The right vinyl cleaning accessories paired with smart storage extend the time between full cleanings.
A record stored with care preserves both its music and its artwork. Consider this your insurance policy—sleeves, outer protectors, dividers, and racks all play supporting roles for long-term collectability.
Inner and Outer Sleeves: Best Practices
Always insert vinyl into a clean, polylined inner sleeve, then slip the sleeved vinyl into a sturdy jacket with an outer plastic sleeve. Each barrier prevents different threats: static, dust, or physical wear from shelf movement.
Collectors describe swapping new albums’ paper sleeves with poly options immediately. This custom keeps records from developing “paper rash” or static pops after just a few plays, especially during seasonal humidity shifts.
Each time you pull an LP, inspect sleeves for folds or tears. Replace worn ones immediately to prevent debris transfer and keep corners crisp. Sleeves are a cheap but crucial shield, never worth skimping on for collectors.
Utilizing Dividers and Storage Racks Efficiently
Place records upright, never stacked, to avoid warpage. Use rigid dividers every ten albums to keep rows neat and air circulating. Think of each divider as a bookend, ensuring covers don’t slump and spines remain readable.
Choose storage racks made from non-abrasive materials—wood or metal with rounded edges—rather than harsh plastics that can scratch sleeves. Racks that hold records at a slight angle help resist gravitational bending on bottom rows.
Try labeling dividers by genre, year, or mood for easy browsing. “I filed all my jazz by decade to spot trends in cover design,” one collector notes. Organization pairs with protection for maximum day-to-day enjoyment.
Assessing the Right Cleaning Accessories for Your Budget and Space
Selecting vinyl cleaning accessories isn’t about price tags—it’s about matching your habits, collection size, and living space. An apartment dweller with a handful of records needs different tools than a growing archive in a basement studio.
Let your cleaning routine and sound quality goals guide upgrades. Start basic, then scale your accessory kit as you add records, troubleshoot problems, or discover new technology that suits your listening habits.
Checklist for Building a Starter or Advanced Kit
Begin with a carbon brush, stylus brush, and polylined sleeves. Expand to wet cleaning tools, drying stands, outer sleeves, and record racks if you have the space. Prioritize what solves day-to-day issues most directly.
For example, a beginner might say, “I only play a few records weekly,” and can skip heavy-duty solutions for now. Conversely, an advanced collector adds ultrasonic cleaners, vacuum devices, or bulk drying racks over time.
Keep gear organized in a labeled bin near your turntable setup. This ensures you always know where to find the right tool, reducing frustration and helping you keep your accessories clean as well.
Conclusion: Creating a Personalized Cleaning Workflow That Lasts
Care for vinyl records is never one-size-fits-all, but every thoughtful collector develops a personal workflow—combining essential vinyl cleaning accessories, orderly storage, and proactive stylus maintenance—suited to their collection’s quirks and needs.
Sticking to a consistent schedule, even of just a few minutes per session, builds habits that pay off in clear sound and clean visuals. The satisfaction of spinning a flawless favorite is well worth the small effort invested regularly.
By investing in both the tools and routines outlined here, you keep every listening experience rewarding—protecting the stories and memories pressed into each groove for years of music, discovery, and connection ahead.