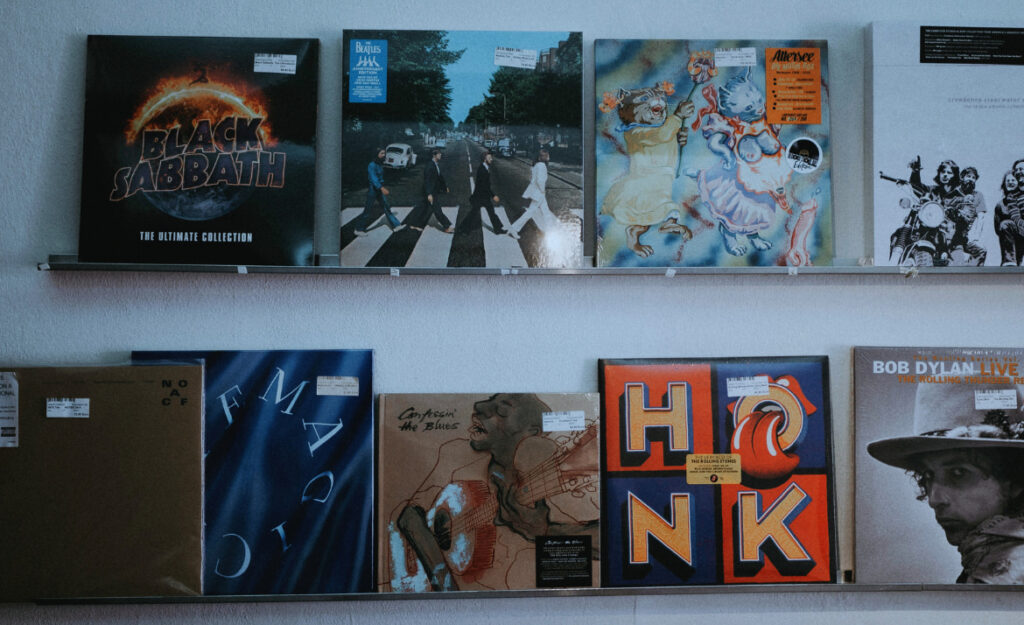
Anyone who displays their cherished records knows that lighting can make or break a collection’s look. Slide your favorite LP onto a shelf, and everything from its color vibrancy to label detail captures attention—if your vinyl display lighting does its job right.
Preserving record jackets and keeping album art sharp matters to collectors and casual listeners alike. When chosen carefully, lighting does more than reveal dust or add ambiance; it protects, highlights, and can even prolong the lifespan of vinyl collections.
Let’s break down exactly what to look for. This article reveals the best lighting techniques, material choices, and placement rules so your collection’s brilliance is always on display, never at risk.
Choosing Bulb Types for Clarity and Preservation
Selecting the right bulb impacts how colors and print details appear on album covers. Switch from generic lighting to specialty bulbs, and you’ll start to notice clearer greens, crisper blues, and true-to-tone whites in your displays.
Don’t settle for bulbs that cast a harsh or yellow glow—LEDs, halogens, and fluorescents behave differently. To see richer reds and defined shading, you’ll need a strategic approach to bulb type and wattage.
LEDs for Low Heat and True Tones
When a collector installs LED bulbs marked “warm white” with a color temperature of 3000–3500K, album covers show consistent detail. Consider this: LEDs barely emit heat, which reduces the chance of warping or ink fading.
A shelf lined with LED-lit records invites guests to lean closer. One collector shares: “I switched to warm white LEDs. Suddenly, every lyric on the sleeve is easy to pick out.” Try this for yourself by swapping out high-heat bulbs.
Remember to avoid ultrabright daylight bulbs for your vinyl display lighting. These can make jackets look washed out and are better suited for workspaces than display shelves.
Comparing Halogen and Fluorescent Options
While halogen bulbs can offer a rich, vibrant light, collectors report feeling the heat after just a short period of use. This can be risky for vinyl that sits close to the source.
Compact fluorescent bulbs, on the other hand, shine cooler but may not render details and colors as accurately (especially for blues and reds). One easy script: “If the bulb feels warm after an hour, replace it.”
Fluorescents sometimes add a flicker or greenish tinge to album art. Audition several at home, and jot down which brings out the details in your most colorful records before investing in a full shelf’s worth.
| Bulb Type | Heat Output | Color Accuracy | Best Use Advice |
|---|---|---|---|
| LED (Warm White) | Low | Excellent (3000–3500K) | Use for all-around shelving, won’t harm covers |
| LED (Daylight) | Low | Very High, can look stark | Only highlight display, avoid full shelves |
| Halogen | Medium-High | Bright, very good | Short sessions, don’t use near plastic jackets |
| Fluorescent | Low | Varies, can distort some colors | Test on one or two albums first |
| Incandescent | High | Poor, yellow tint | Avoid, damages colors and heats vinyl |
Optimizing Light Placement for Maximum Impact
Focus on where you place light sources to best accent vinyl display lighting without causing glare or fading. Positioning is as crucial as bulb choice for preserving art and label clarity.
Place lights above and slightly in front of album covers to cast subtle yet comprehensive illumination. Use fixtures with adjustable arms to flexibly direct beams and minimize shadows, ensuring every color remains punchy but protected.
Preventing Direct Beam Damage
Adjust spotlight angles to avoid beams hitting covers perpendicularly, which can fade inks over the long term. Mount track lighting at a 30-degree angle: this casts light while sidestepping direct UV exposure.
- Install track heads above, not in front of, your records to diffuse light evenly and avoid hotspots that age covers.
- Use dimmable bulbs and start with low brightness for evening displays; increase intensity only when showing detail to visitors.
- Avoid suspending pendant lights too low, where they focus heat and energy directly atop a precious album jacket.
- Space shelf lights apart to prevent overlapping light, which creates sharp contrasts and can make pastel colors look drab.
- Add a frosted lens or diffuser if your lighting appears spotty, softening transitions and protecting delicate hues and print detail.
Keep bulbs farther from wall shelving. This keeps covers cool and detail crisp, even after hours of display.
Balancing Lighting for Mood
Set a cozy ambiance for evening listening sessions by layering your vinyl display lighting. Use an overhead fixture for general brightness and accent lights for pops of color on featured albums.
- Choose smart bulbs with dim controls when installing lighting near record shelves; control intensity depending on time of day or event.
- Highlight a new arrival or special edition by angling a soft LED spot at the sleeve—this draws the eye while protecting older sleeves nearby.
- Install bias lighting strips along the back edge of record shelves. This provides a subtle rear glow, minimizing the contrast between cover and wall for a gallery look.
- Use battery-powered puck lights for quick rearrangement—great for spotlighting just-purchased LPs without rewiring.
- Create groups of fixtures with various color temperatures for nuanced viewing, switching between “display mode” and “relax mode” via your remote or wall switch.
Layer lighting in collecting spaces to reveal both glossy jackets and matte-textured labels as intended by artists and designers.
Safeguarding Vinyl with UV Protection Strategies
Integrate UV shields to make sure vinyl display lighting doesn’t fade vibrant artwork. Ultra-violet rays, even from some LEDs, can accelerate color loss and brittleness in outer sleeves.
Arrange every bulb or fixture behind UV-absorbing panels or use window films for natural light. These barriers add invisible insurance against gradual aging, keeping every cover sharp year after year.
Specialty Filters for Every Setup
Home collectors can attach snap-on UV filters over their spotlights or track fixtures in minutes. A quick tip: look for acrylic or polycarbonate shields rated for 97 percent or better UV block for full-spectrum vinyl display lighting protection.
For built-in shelf lights, insert thin UV gel sheets between the bulb and display. One longtime enthusiast suggests, “Swap every six months to maintain effectiveness.” Mark your calendar and stick to a schedule.
Don’t rely solely on window glass to block UV, since standard panes allow enough ultraviolet through to mute reds and fade black ink within a couple of years.
Analogies for Visualizing UV Shielding
Think of UV filters as sunglasses for your collection—they shield vulnerable sleeves like good shades protect eyes on a bright day. Like sunglasses, they need to fit well and cover all angles.
Imagine putting a prized jazz gatefold in direct sunlight for a few hours. Its colors dull before your eyes, just as a paperback cover bleaches at the beach. Avoid this by always layering filters or films over each light source.
Try this routine: before you display a rare album, hold a UV flashlight over its new lighting fixture. If the beam shows through, upgrade your filter setup immediately.
| UV Protection Method | Effective? | Installation Ease | Replacement Needed? |
|---|---|---|---|
| Snap-On Filter | High | Easy | Every 12–18 months |
| Window UV Film | Medium | Moderate | Every 2–3 years |
| UV Gel Sheet | High | Simple | Every 6–12 months |
| Specialty Acrylic Shields | Very High | Moderate | Every 2–3 years |
| Regular Window Glass | Low | Already installed | Upgrade to specialized film |
Careful Color Rendering for Album Art Accuracy
Dial in color rendering when setting up vinyl display lighting so every LP looks like its designer intended. Prioritize bulbs with a Color Rendering Index (CRI) score of 90 or higher for truer reds, vibrant blues, and neutral whites.
Test several bulbs in your space by standing back and comparing albums you know well. Does the purple on your Prince album stay deep or go muddy? Swap bulbs until you love what you see.
Understanding the CRI Rating
The CRI rating tells you how accurately a bulb shows colors compared to natural sunlight. Choose 90+ CRI bulbs for your shelf lights—vinyl display lighting with lower scores can make art seem lifeless and less collectible.
Check your bulb packaging or specs online before buying. Higher CRI means less trial and error, and you’ll notice lesser-known album covers pop just like classics under museum lights. Prioritize these bulbs for your most visually striking LPs.
One collector’s side-by-side test: “My late-’60s psychedelic covers finally look right. Reds glow, and every fine gold line stands out.” Audit your current bulbs for CRI today to ensure the same satisfaction.
Examples of Color Rendering in Action
Set up two identical shelves side by side—one with high-CRI LEDs, one with standard bulbs. Step back, then walk closer and look for shifts in fine leaf-green detail or midtone blues.
Try the same test with bold hip-hop covers that blend neons and black—good vinyl display lighting makes the color blocks crisp, not muddy or overly shadowed. Take photos with your phone to confirm the difference under new bulbs.
Encourage friends to rate displays during listening parties: “Which shelf makes this Bowie album look sharper?” Collect feedback and switch out bulbs on shelves with lower scores until fans all agree on a winner.
Practical Upgrades that Fit Any Room
Start with simple, budget-friendly improvements to make your display brighter and safer. Flexible strip LEDs can be stuck under shelves, while plug-in wireless pucks hide easily for added effect. Small, thought-out changes make a dramatic visual impact.
Don’t overcrowd or draw attention away from featured records. Instead, space lighting in a grid for even coverage and spotlight only the best spines or faces. Color and clarity stay balanced, and your collection always looks curated.
Lighting Placement Checklist
Mount all lighting at least 9 inches above top album edges to spread illumination. Place dimmable controls within reach of your listening spot for fast tweaks. Keep wiring organized with cable clips so nothing distracts from the display itself.
For cabinets with glass doors, avoid backlighting. Instead, light from the top or sides to reduce glare and better protect detail-rich surfaces. Regularly dust bulbs and lenses—dirt can dim light quality and skew color perception.
End each room adjustment session with a phone photo from sitting and standing perspectives. If one section stands out or looks flat, pivot a fixture or change bulb temperature for uniform beauty.
- Lay down painter’s tape before mounting strips for easy repositioning if needed during a test run.
- Label all remotes or wall switches by shelf for intuitive adjustments—no more guessing which light fits which area.
- Test all upgrades at both bright and dim settings to ensure no album is left in glare or shadow during different times of day.
- Ask a friend to walk through and pinpoint any distracting reflections, then reposition lights on the spot for best angles.
- Schedule biannual reviews to refresh filters, dust off fixtures, and re-evaluate color vibrancy across all visible albums.
Scenario: Remodeling a Small Listening Den
In this scenario, a record lover transforms a cramped den into a vinyl showcase. They attach LED tape under shelves, add a frosted pendant overhead, and run a bias strip along the back wall for ambiance.
The result: jackets shine without fading, and label intricacies remain visible from every listening position. Each fixture is labeled and dimmable for quick adjustments. Takeaway—small, consistent upgrades create an inviting collecting corner.
Apply this micro-remodel philosophy to your space, no matter the room size or budget. Start with a single strip or spot and build over time.
Putting It Together for Lasting Displays
Collectors can create gallery-level vinyl display lighting with a few core rules in place. Select the right bulbs, angle fixtures thoughtfully, and always combine color accuracy with gentle, even brightness to uphold each album’s original intent.
Integrate UV shields and organize regular checks to ensure every investment stays protected. Before each display, inspect your color rendering and swap bulbs as newer, higher-CRI versions become available. Small changes add up over years of collecting.
Finish every upgrade with a night-and-day check: review the display early in the morning and late at night to confirm that covers stay sharp and vibrant around the clock, then enjoy your illuminated collection in comfort.